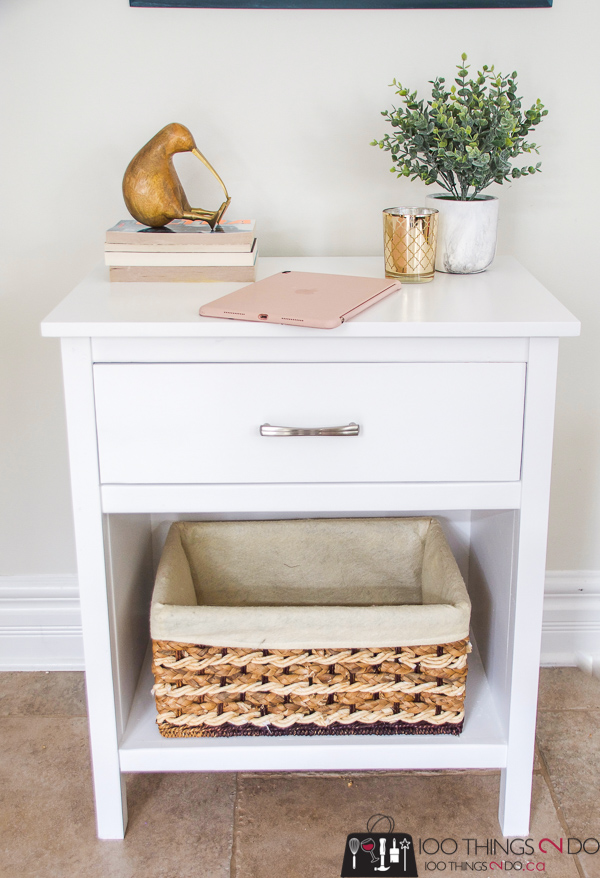
With easy-to-follow building plans, these Cooper bedside tables are a simple and inexpensive route to furnishing a bedroom – check out my DIY nightstands and see for yourself!
I FINALLY have a build to share with you today!
I started these Do It Yourself (DIY) nightstands at the end of January, but with recent events, a trip to Florida and two girls with extensive dental work, they took a back-burner to more pressing items.
I got them done though! Final coat of paint went on last Wednesday and these “Cooper nightstands” (with building plans from Rogue Engineer) are ready to decorate the girls’ rooms at their Daddy’s house.
I didn’t think there was any need to reinvent the wheel here, so I pinned a few different DIY nightstand ideas and then let the girls choose which they’d like for their new rooms. It was unanimous that the Cooper nightstand from Rogue Engineer was the one… which I was thrilled with because Jamison’s plans are so easy to follow it made building these (except for the drawers – UGH!) a breeze.
(Note: This post contains affiliate links and sponsored materials. For a full affiliate disclosure, please see the sidebar. All sponsored materials and supplies are disclosed in the article.)
I don’t know why I can’t get drawers to work? It’s a box, on a slide and it should be simple right?
It might be if you didn’t stop measuring at an 1/8th of an inch. lol My eyes are too old and blurry to find markings that are a 1/16th or 32nd of an inch – so I mark and cut to the nearest eighth-of-an-inch – which inevitably means the drawers won’t fit properly.
You’d think I’d learn and invest in a magnifying glass right?
I need to send out big thank you’s to a few brands that – while they didn’t specifically provide materials for this build – have provided materials in the past that allowed me to build these very inexpensively.
First off were these handles from Liberty Hardware – leftover from a dresser makeover and I think another nightstand makeover – the girls decided they wanted a different handle each, so it was nice to have a couple of options to offer them.
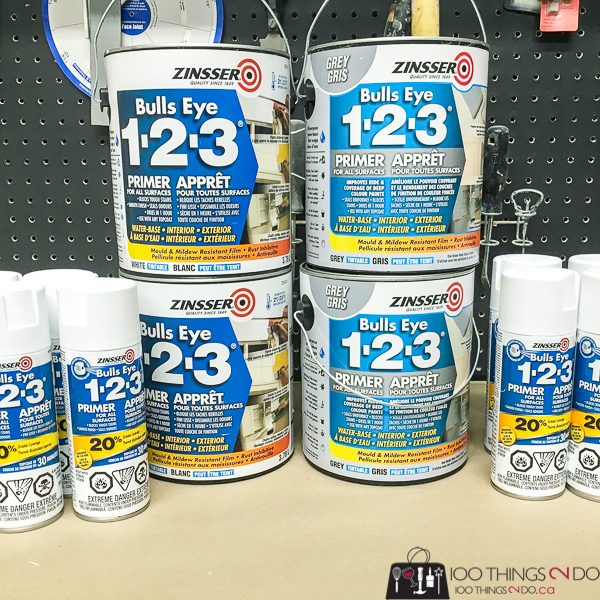
Then we have my besties at Rust-Oleum Canada – who make (in my honest opinion) the best primer on the market and keep me stocked for any and all projects I share with you.
I shared a video on InstaStories showing how easy it is to prime one of these DIY nightstands and to let you see just how far one can of Zinsser Bulls Eye 1-2-3 goes (almost double what Kilz spray primer can cover). It’s true, I’ve tested it myself!
[fusion_builder_container hundred_percent=”yes” overflow=”visible”][fusion_builder_row][fusion_builder_column type=”1_1″ background_position=”left top” background_color=”” border_size=”” border_color=”” border_style=”solid” spacing=”yes” background_image=”” background_repeat=”no-repeat” padding=”” margin_top=”0px” margin_bottom=”0px” class=”” id=”” animation_type=”” animation_speed=”0.3″ animation_direction=”left” hide_on_mobile=”no” center_content=”no” min_height=”none”]
Another big thank you goes out to HomeRight for the Medium Spray Shelter Paint Booth. I have all three of HomeRight’s spray shelters – the small, the medium and the large and as you can see by all the paint spray in the video these have been invaluable in containing overspray and the small and medium are a breeze to pop up and take down.
One coat of primer and three coats of BM’s Advance formula paint, with a light sanding between each coat, and these DIY nightstands are ready to store all the girls bedtime necessities.
Okay, I have one more surprise – white nightstands are cute, but I wanted to add a little extra something to each one:
Chloe’s DIY nightstand has a drawer liner with this gorgeous gift wrap I found on Spoonflower and Maddie went with a different wrap that I picked up at the dollar store.
I used a bit of 3M spray adhesive on the back of the paper and adhered it to the bottom of the drawer/s.
Just something a little different, inexpensive and personal for each bedside table.
Chloë is my reader, so the shelf at the bottom will eventually be filled with books. These Cooper nightstands are a fair size, larger than I first thought when I saw the photo on Rogue Engineer. Each surface has plenty of room for a lamp, books, glasses iPads etc.
Maddie is my less-than-organized daughter, so I thought I’d tuck a basket in the bottom of her DIY bedside table – a place where she can just plop and drop whatever she wants to tuck away before she gets grounded for having a filthy room. lol
The wood for both nightstands came to $60 Cdn, the drawer glides were $24/pair (but next time I won’t get the full-extension, soft-close version) and the paint was $28 for a quart.
I was able to build two bedside tables for about $68 Cdn each. Not too shabby eh?
Check out the full (free) building plans for the Cooper nightstand over on Rogue Engineer and see how he’s finished his with a gorgeous two-tone stain/paint look on a gorgeous red oak. (swoon!)
Please – share and pin it for later!
Have a great one!
[/fusion_builder_column][fusion_builder_column type=”1_1″ background_position=”left top” background_color=”” border_size=”” border_color=”” border_style=”solid” spacing=”yes” background_image=”” background_repeat=”no-repeat” padding=”” margin_top=”0px” margin_bottom=”0px” class=”” id=”” animation_type=”” animation_speed=”0.3″ animation_direction=”left” hide_on_mobile=”no” center_content=”no” min_height=”none”]
Linked to: Between Naps on the Porch
[/fusion_builder_column][/fusion_builder_row][/fusion_builder_container]


Nice job!. I will check out the plans…thanks
I forgot to ask..where did you get the 2 x 2’s? Neither of our Big Box stores (HD & L’s) in Sudbury carry them in a “select grade” for some reason. Did you have to cut them?
I did – I cut them down from a 2×4 on the table saw. I will admit that I bought off-the-shelf lumber (not select) so my price is much cheaper than yours might be using select – however, paint and sandpaper hide a myriad of the yuckyness that is big box store lumber. If you plan on staining your nightstand, then please use the select lumber. Good luck!
A portable table saw is my next major purchase. It just kills me that the Canadian big box guys don’t supply the same types of wood species/sizes as the States. Thanks for the info!
Where did you get that kiwi bird???