Last year the Home Depot offered a DIH (Do It Herself) workshop where instructors showed you how to build a DIY wheelbarrow using a crate and some 2×2 wood.
The workshop wasn’t offered in my area, and I couldn’t find the tutorials online, so I decided to whip up my own version and offer the plans here – just in case you missed out too.
First I’d like to show you the “why”: I found this giant, gorgeous resin pumpkin at a HomeSense visit last week and knew it had to become part of my Fall porch decor.
I wanted it elevated from the ground to give it a bit of presence, so creating a DIY wheelbarrow seemed easy and in-theme with the season.
I used scrap wood for this entire project, and hopefully you have (or know of someone who has) a stash of leftovers that you can pilfer.
DIY Wheelbarrow:
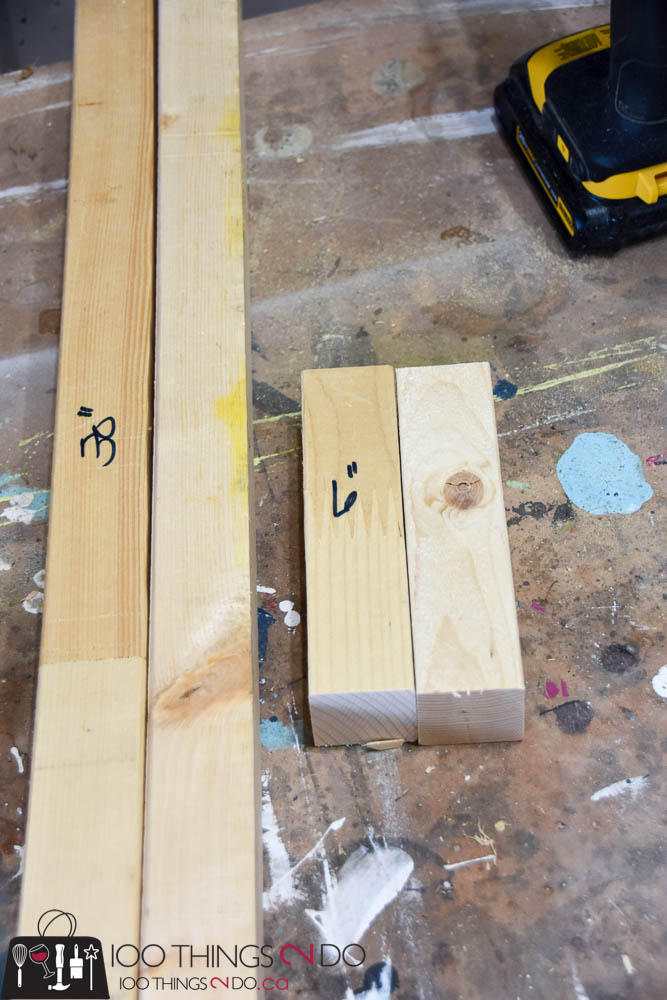
- 2 pieces of 2×2″ cut to 30″ long
- 2 pieces of 2×2″ cut to 6″ long
- 2 pieces of 3/4 plywood cut to 19″ long by 2 1/2″ wide
- 1 piece of 3/4″ plywood cut to 13″ long by 2 1/2″ wide
- 1 piece of 3/4″ plywood cut to 9 1/4″ by 15 3/4″
- a scrap piece of wood that you can trace a large paint can onto
- 1/4″ wood dowel cut to 6″ long
Start by tracing out your paint can onto the scrap piece of wood – this will make a wheel for your DIY wheelbarrow that is approximately 7″ in diameter.
Cut out your circle with a jig saw and set aside.
This next part I “winged”, so I’ve given extra wood in the cut list above if you make a mistake.
Cut your 3/4″ plywood strips (the 2 1/2″ ones) along the long edge using your compound mitre saw, set at a 30° angle.
This is so that the DIY wheelbarrow sides will flare outwards slightly like a real wheelbarrow would.
Now for the really tricky stuff:
watch a few minutes of this video to get an idea of how to cut the corner angles.
I treated each of the side and the front piece as though they were crown molding and set them on the mitre saw so that the 30° angled base was flat. I then cut one end of each of the long boards at a 45° angle and glued them into place on the rectangular piece of plywood.
From there I traced the angles onto the shorter 2 1/2″ ply wood piece and cut based on the instructions in the video.
Try one cut first and see if it lines up for you – there is a bit of wiggle room in the size of the boards I told you to cut, so there is room for a mistake or two until you get it right.
Glue and screw the remaining board in place and if you have excess on the long sides, cut them off with your mitre saw now.
This was my first time attempting to cut angles on bevelled pieces of wood, so my fit isn’t as tight as I’d have liked, but a little bit of wood filler or DAP trim sealer will hide any little gaps.
Next, you’ll want to find the centre of your wheel and drill a hole through it with a 5/8″ drill bit.
Line up your wheel with the 30″ long 2×2′ boards so that the dowel will sit just inside the end. Drill a 1/4″ hole at that mark through both 2×2″ boards.
Tap the dowel through one of the 30″ 2×2″ boards, then the wheel and finally through the other 2×2″ board so that the wheel itself can roll.
Cut off the excess dowel.
Using a 2″ wood screw, attach the wheel component of your DIY wheelbarrow in a “Y” shape to the bottom of your wheelbarrow. Centre the wheel on one end of the wheelbarrow and then attach the arms widening out to 1 3/4″ from the outside edge on each side. Don’t strain the dowel too much or it might snap, but if you use the measurements in this tutorial it won’t break and your wheel will be able to spin smoothly.
Finish the build by gluing and screwing the 6″ 2″x2″ on the outside of the wheel’s Y component.
I drilled three holes in the low section of my DIY wheelbarrow to allow for drainage on rainy days.
I sanded the entire piece smooth, used one coat of Zinsser Bullseye 1-2-3 primer for outdoor protection and then painted with an outdoor paint.
You can fill it with indian corn, small or large mums or a collection of gourds and pumpkins.
I tucked my big boy in and set a white mum in the background to tie it all together.
I’m all about the navy and white right now, can you tell?
If you want to create a similar one to the DIH workshop, I believe the only difference is attaching a crate to the Y wheel component instead of cutting the plywood and angled edges. Should be easier, but not as unique.
It’s time to get your Fall on!
Have a great one!


This is so neat! Looks like it’s really easy to do too. It’d be a nice basic project for my son and I to do together.