If you’ve followed along, you will have seen a few posts now where I’ve done different projects for a playground makeover.
The goal of the entire endeavour was to get a few more years of use out of our backyard play set / treehouse… I needed to “Tween it up” to make it cool enough for my girls to want to play in again.
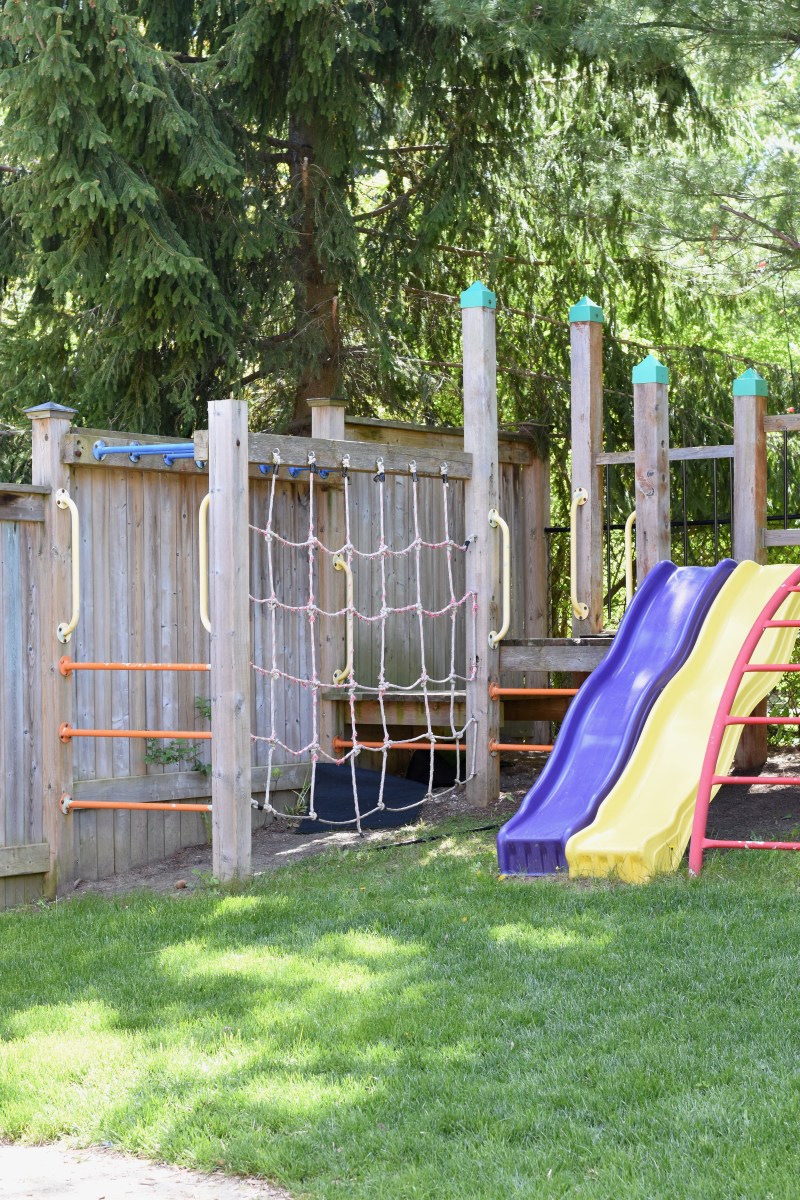
I’ll go back to what we started with:
 You can see that the metal sections need to be repainted, the wood could use a clean-up, but more importantly it needed to evolve from climbing kids to lounging tweens.
I worked with the Design Consultants at Clancy’s Rainbow and they came up with a colour scheme, concepts and products that would extend the life of our backyard playground.
Leisa and her team can provide you with everything you need to take any project from ‘meh’ to “WOW!”.
 I started by framing in the back and side of the playground to give it more of a “fort” feel. This gave the girls a couple of sitting areas where they could lean back and chat with friends, or just hang out and quietly read / surf the internet.
The next step in our playground makeover was to sand down all of the pre-existing boards and paint everything with a single coat of Arborcoat® premium exterior stain in Platinum Gray.
I added a tic-tac-toe board to one of the landings per the suggestions of the team at Clancy’s Rainbow and it’s been a HUGE hit!
Using a stencil and more Arborcoat® premium exterior stain , I painted a few canvasses to cover the bare fence behind where the rope climber used to be.
We removed all of the ropes and installed a hammock for swinging or lounging and
hung some seat cushions using Command hooks to be used as chair backs in the upper section.
Madison stencilled more honeycomb onto the shower curtain, (*note: any fabric other than that made for showers will get mould and mildew)
and all the metal work got two coats of Benjamin Moore Rust Scat® in a semi gloss finish. I’m not a big fan of oil paint, but this stuff is intended for metal and the levelling properties are spectacular!
The playground makeover is so vibrant and fun that we are all using it more than ever before (mainly tic-tac-toe challenges and outdoor Pictionary on our giant chalkboard).
How about some before and afters?
For how-to’s on these projects, click the highlighted text:
I’d like to send a project finale thank you to the amazingly creative design team at Clancy’s Rainbow – without your imagination, vision, talent and products this playground makeover would have certainly fell short.
Facebook Twitter Instagram Pinterest
Have a great one!
This post is sponsored by Clancy’s Rainbow. I was provided with Benjamin Moore® products to help spread the word about Benjamin Moore® Chalkboard Paint, Arborcoat® Premium Exterior stain. 100Things2Do.ca only shares information I feel is relevant to my readers. All opinions expressed are sincere and my own. Clancy’s Rainbow is not responsible for the dialogue of this article.
Linked to:


We seen the playground equipment when you 1st started and now you don’t even recognize what it has become. Another job well done and the girls will get a lot of enjoyment out of it. Enjoy.
Muriel
xoxo
Thanks so much!
Hi Shelly!
Your playground makeover looks great! I love the colors and the hammock is perfect :)
Cheers,
Jessica
Thank you so much – but it was the team at Clancy’s Rainbow that designed and chose the colour scheme, so I can’t take all of the credit. Their vision, my labour. lol