Have you noticed (in this crazy heat-wave) that shade is ridiculously expensive?
Patio umbrella stands? $80–$250.
Rolling umbrella bases? Mortgage payment.
Permanent shade structures? Well… let’s just pretend we didn’t look.
So when I needed portable shade for our preschool playground, I started wondering if there was a simpler solution.
Turns out there is.
This DIY umbrella stand costs a fraction of the price of commercial bases, takes about 10 minutes of hands-on work, and is sturdy enough to move wherever you need shade that day. Better yet? It isn’t limited to patios. We’ve since discovered about ten different ways to use it—from daycare water tables to fishing docks. (Thanks ChatGPT for the inspiration!)
It’s one of those gloriously simple projects that makes you wonder why someone isn’t already selling them for ridiculous money.
Let’s fix that.
Supplies
You’ll need:
- 5-gallon hardware store bucket
- 1 bag of Quikrete Fast-Setting Fence & Post Concrete
- Beach umbrella with removable upper section (Amazon affiliate link)
- Garden hose or bucket of water
- Level (optional, but helpful)

That’s it.
No mixing tub.
No wheelbarrow.
No power tools.
No swearing.
(Okay… maybe a little swearing – concrete is fricking heavy!)
How to Make a DIY Umbrella Stand
Step 1 — Add Concrete
Pour approximately half of the bag of Quikrete Fast-Setting Fence & Post Concrete into the bucket.
Unlike traditional concrete, this product is designed to set with water added directly to the hole—or in this case, the bucket.
Step 2 — Add Water
Follow the mixing instructions printed on the Quikrete bag… which is actually “no mixing”. I personally didn’t have confidence that the water would absorb everywhere so I did stir it with 3 paint sticks taped together – but the instructions say you don’t have to.
Don’t overthink it (like I did).
You’re looking for the moisture level recommended by the manufacturer—not soup, not cookie dough.

Step 3 — Insert the Umbrella Pole
Separate the beach umbrella.
Place only the lower half of the umbrella pole into the center of the bucket.
Use a level—or simply eyeball it from a few directions—to make sure it’s perfectly plumb.
Now is the time to fix it.
Concrete has a funny habit of becoming very obstinate to adjustments once it hardens.

Step 4 — Add Remaining Concrete
Pour the remaining concrete around the pole.
Add the remaining water according to the instructions on the bag.
Double-check that the pole is still straight.
Then…
Walk away.
I know.
It’s hard.
But let the concrete do its thing.
OH! Tip from someone who knows: leave the handle on the bucket to make moving it easier.
Step 5 — Wait About 3 Hours
Fast-setting fence-post concrete hardens surprisingly quickly.
Within roughly three hours, you’ll have a sturdy DIY umbrella stand that’s ready for action.

Want the Pole to Be Removable?
Here’s my favourite little trick.
Before placing the umbrella pole into the concrete…
Wrap the bottom of the pole with cardboard and hold it in place with painters tape.
The cardboard creates a tiny bit of extra clearance around the pole.
Once the concrete cures, simply remove the umbrella. The cardboard will still be wet, so it’s fairly easy to remove.
Now you’ll have a custom-sized sleeve that allows you to:
- remove the umbrella for winter storage
- swap umbrellas later
- replace a damaged umbrella
- transport the bucket separately
Future You will be very impressed with Present You.
Why Build a DIY Umbrella Stand?
Because unlike permanent structures, this stand goes wherever it’s needed.
Today it’s beside the sandbox.
Tomorrow it’s shading you while weeding.

Saturday it’s on the dock.
Truthfully, you’re better to whip up three DIY umbrella stands than to try moving this one. A few feet yes, but from the house to the dock and back – say goodbye to your spine.
It’s doable – I took this one from my house to the daycare, but I wouldn’t want to have to do it daily.
Try doing that with a gazebo.
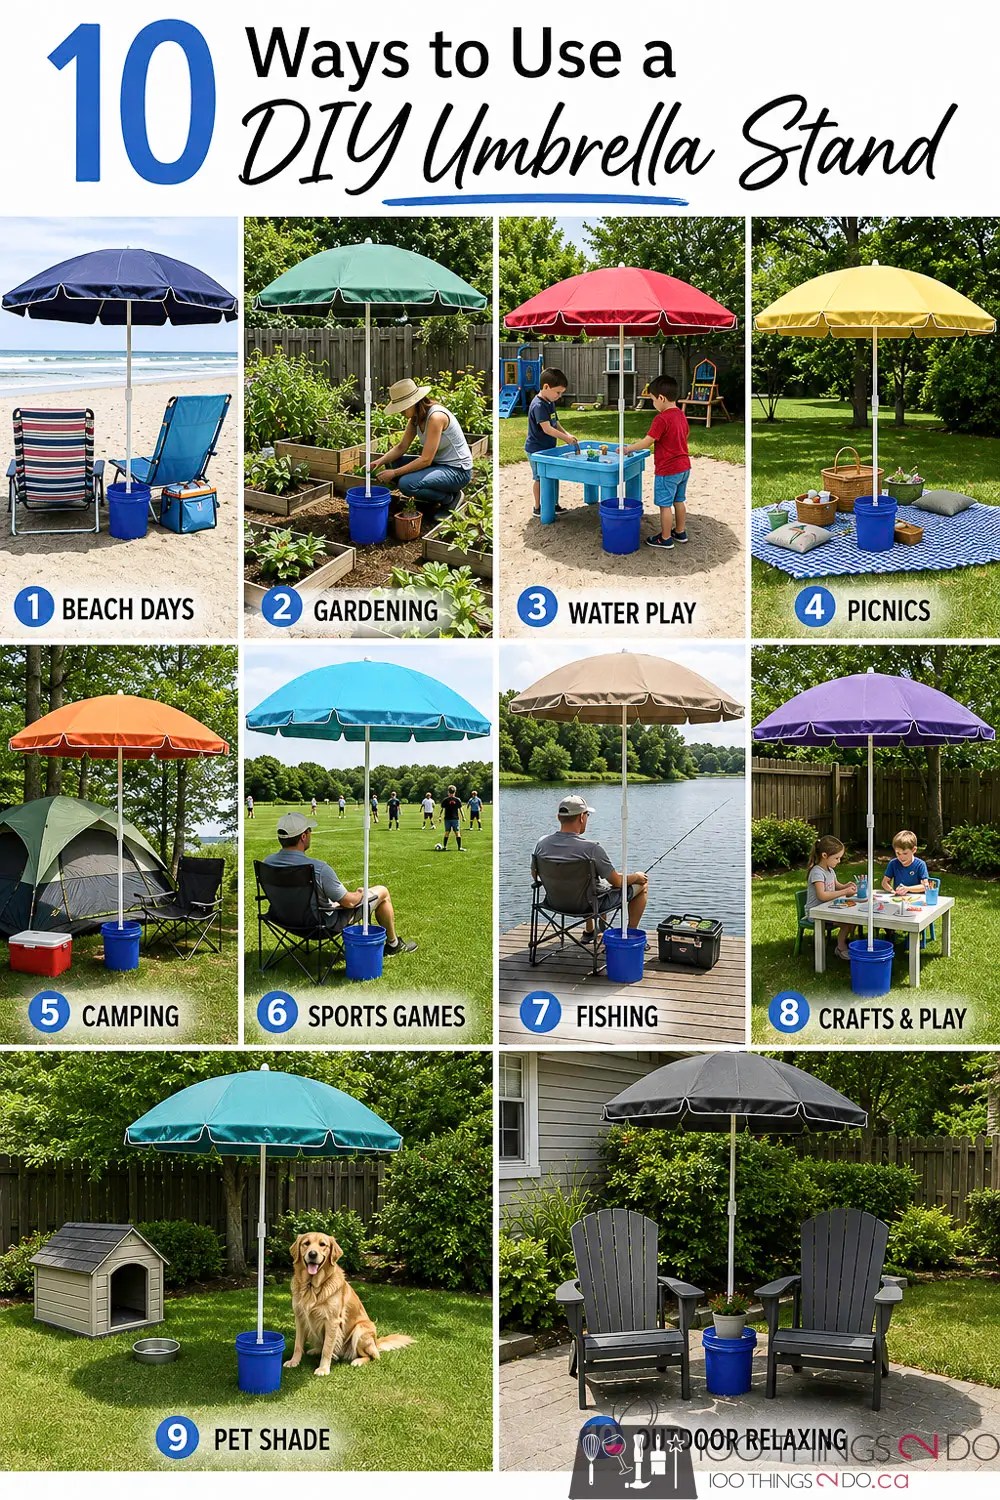
10 Clever Ways to Use a DIY Umbrella Stand
🏖️ Beach Days
Skip digging umbrella anchors into packed sand.
Set your bucket stand beside your chairs for portable shade.
🌱 Gardening
Keep yourself cool while weeding, planting or harvesting vegetables.
Your tomatoes don’t mind the heat.
You probably do.
🧒 Children’s Water Tables
One of my favourite uses.
Shade helps:
- keep water cooler
- reduce sun exposure
- make outdoor play more comfortable
🧺 Backyard Picnics
Instant shade over a picnic blanket or folding table.
No trees required.
🏕️ Camping
Move shade wherever your campsite needs it.
Camp kitchen?
Done.
Reading chair?
Done.
Afternoon nap?
Absolutely.
🎣 Fishing
A bucket umbrella stand on a dock keeps both you and your tackle box comfortably shaded during long afternoons by the water.

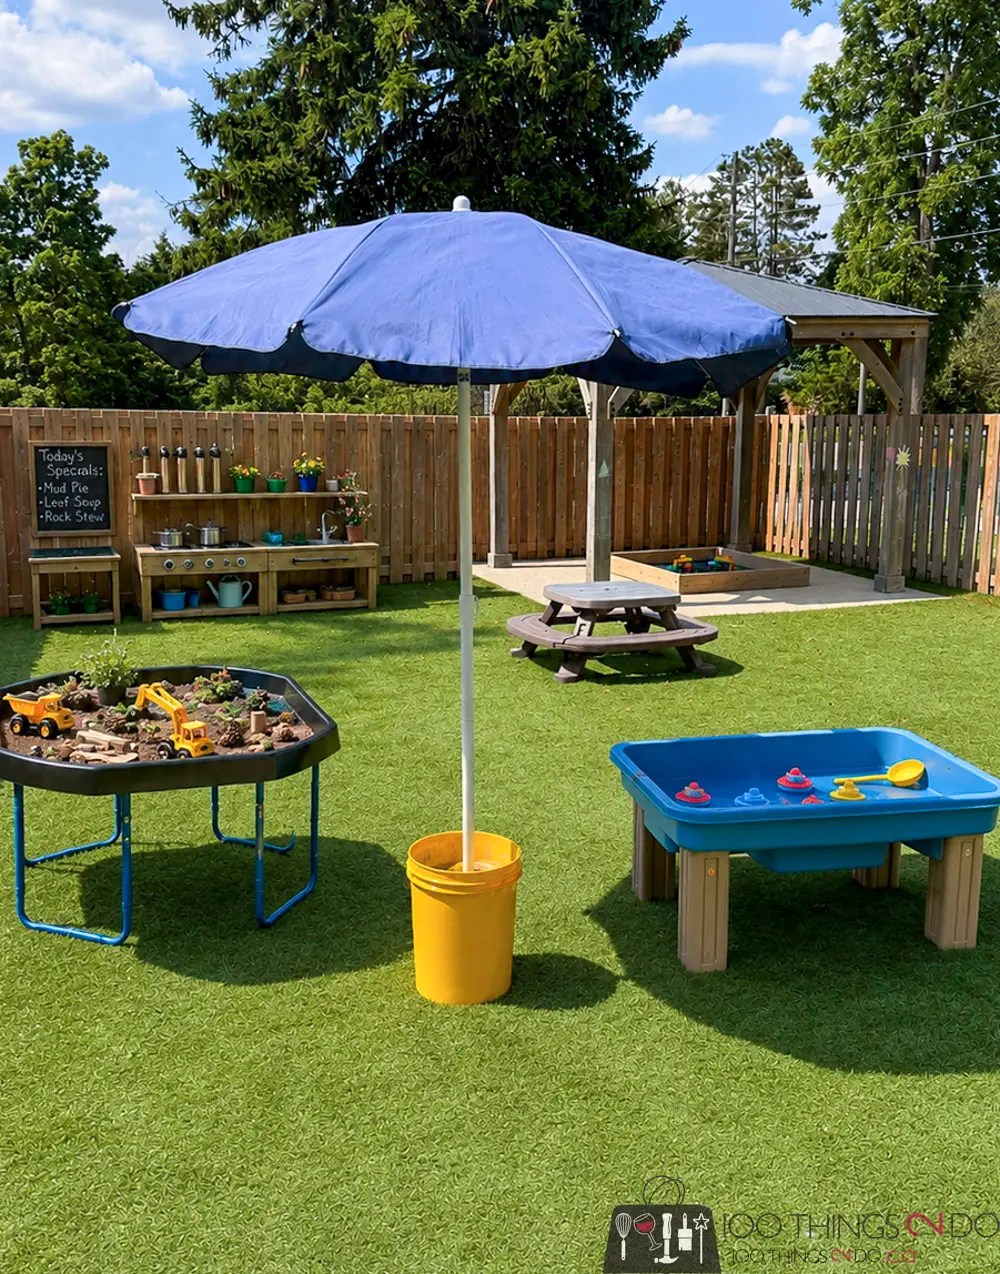
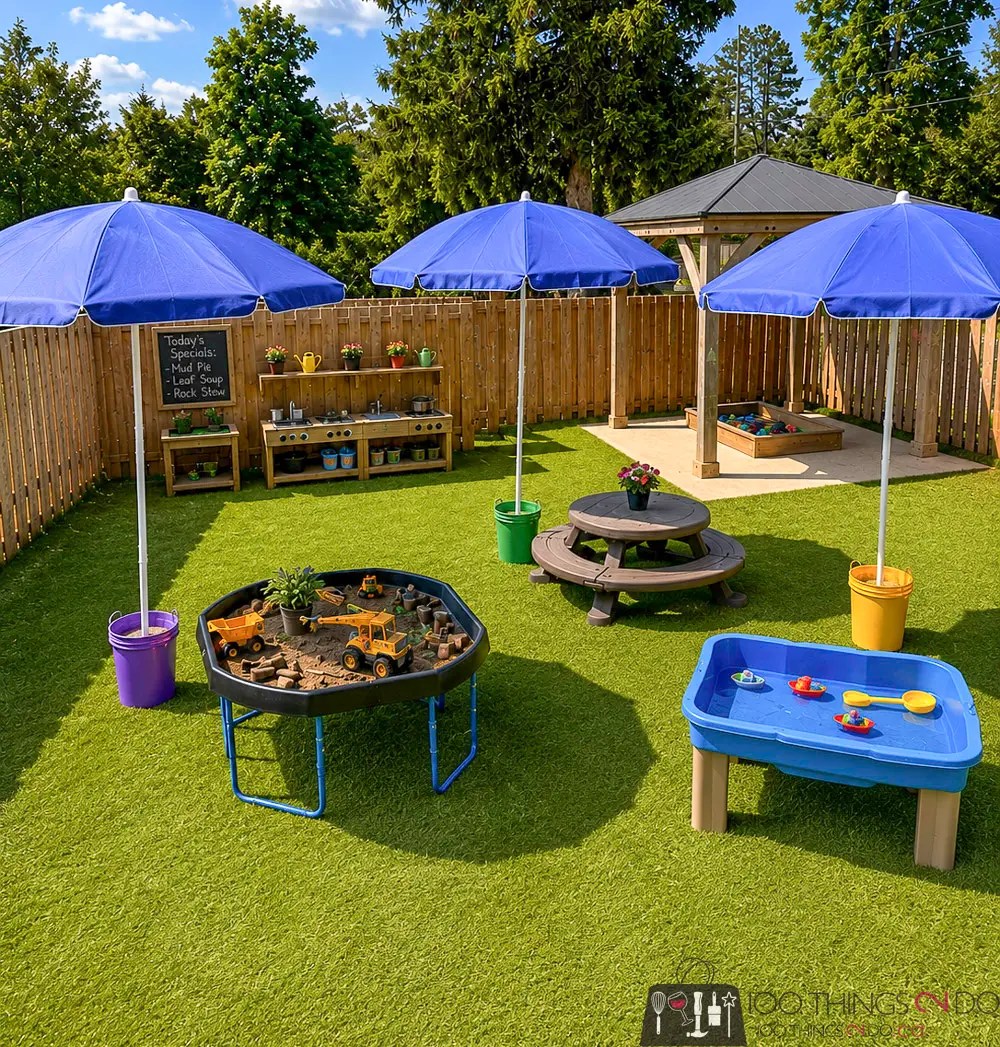
🎨 Crafts & Sensory Play
Perfect over:
- sensory bins
- tuff trays
- Lego stations
- art tables
- mud kitchens
Especially useful for daycares and backyard play areas. (which is what I made them for)
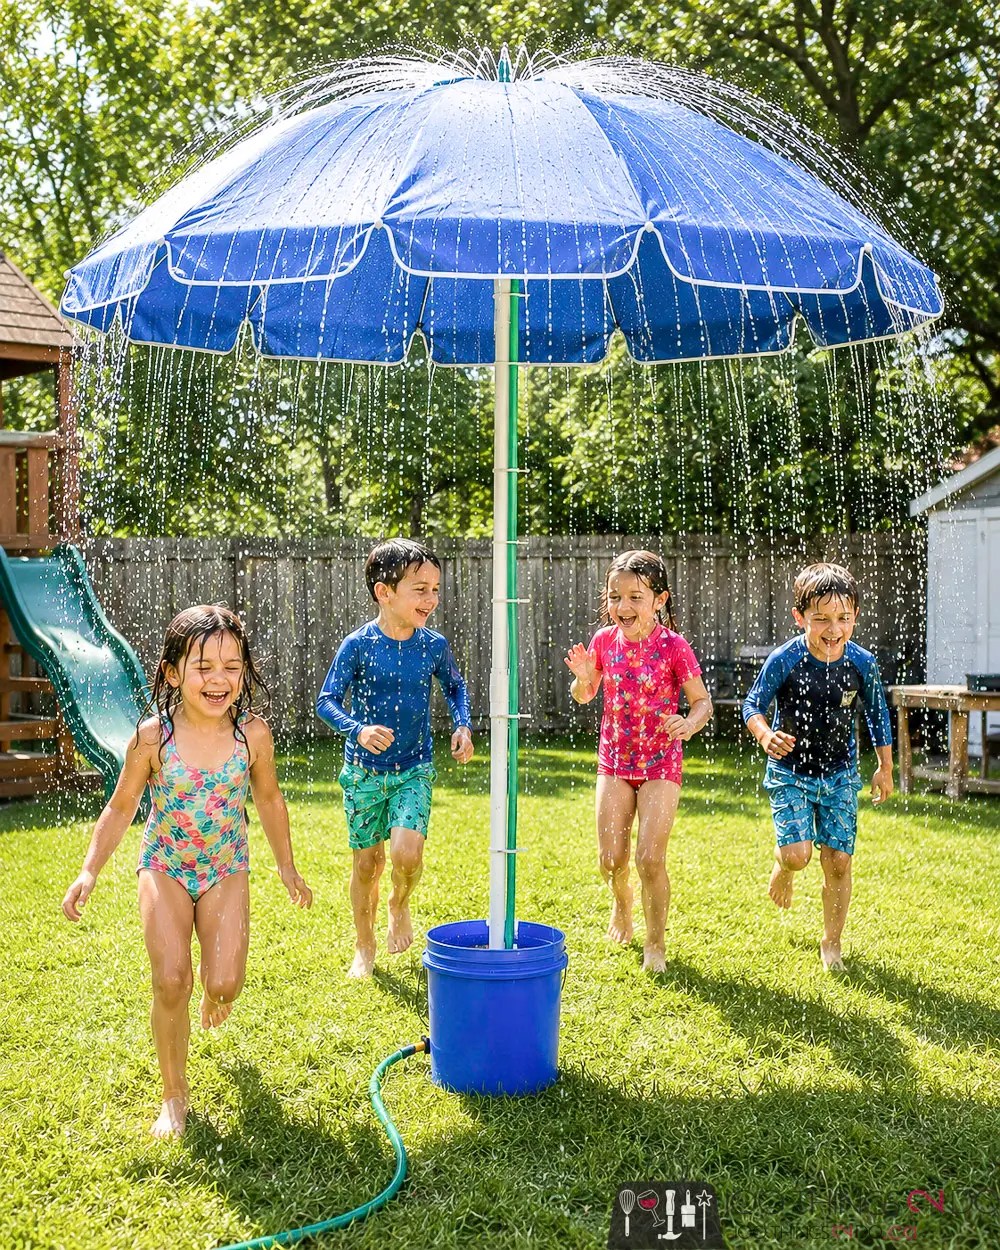
I haven’t tried this next image (but then I’ve never fished either lol), but I’m SURE it would work; zip tie your hose to the umbrella stand with the nozzle venting out the top of the canopy. If your beach umbrella doesn’t have the upper vent, then hang your hose on the fence and let it spray onto the umbrella and you should get a similar rain effect.
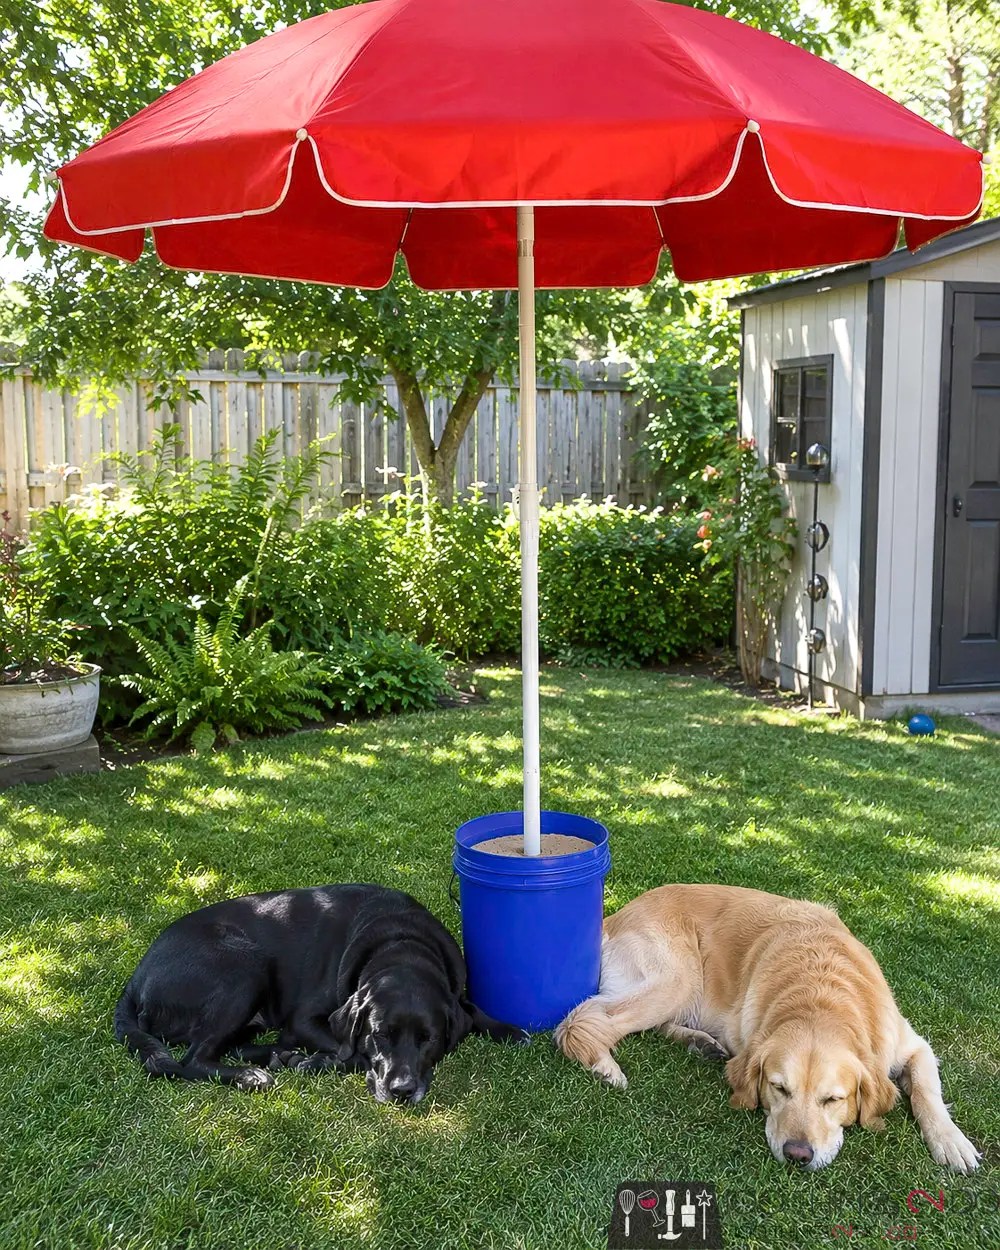
🐕 Pet Shade
Provide a cool resting place beside:
- kennels
- dog houses
- outdoor water bowls
Your dog won’t thank you verbally.
The tail wagging counts.
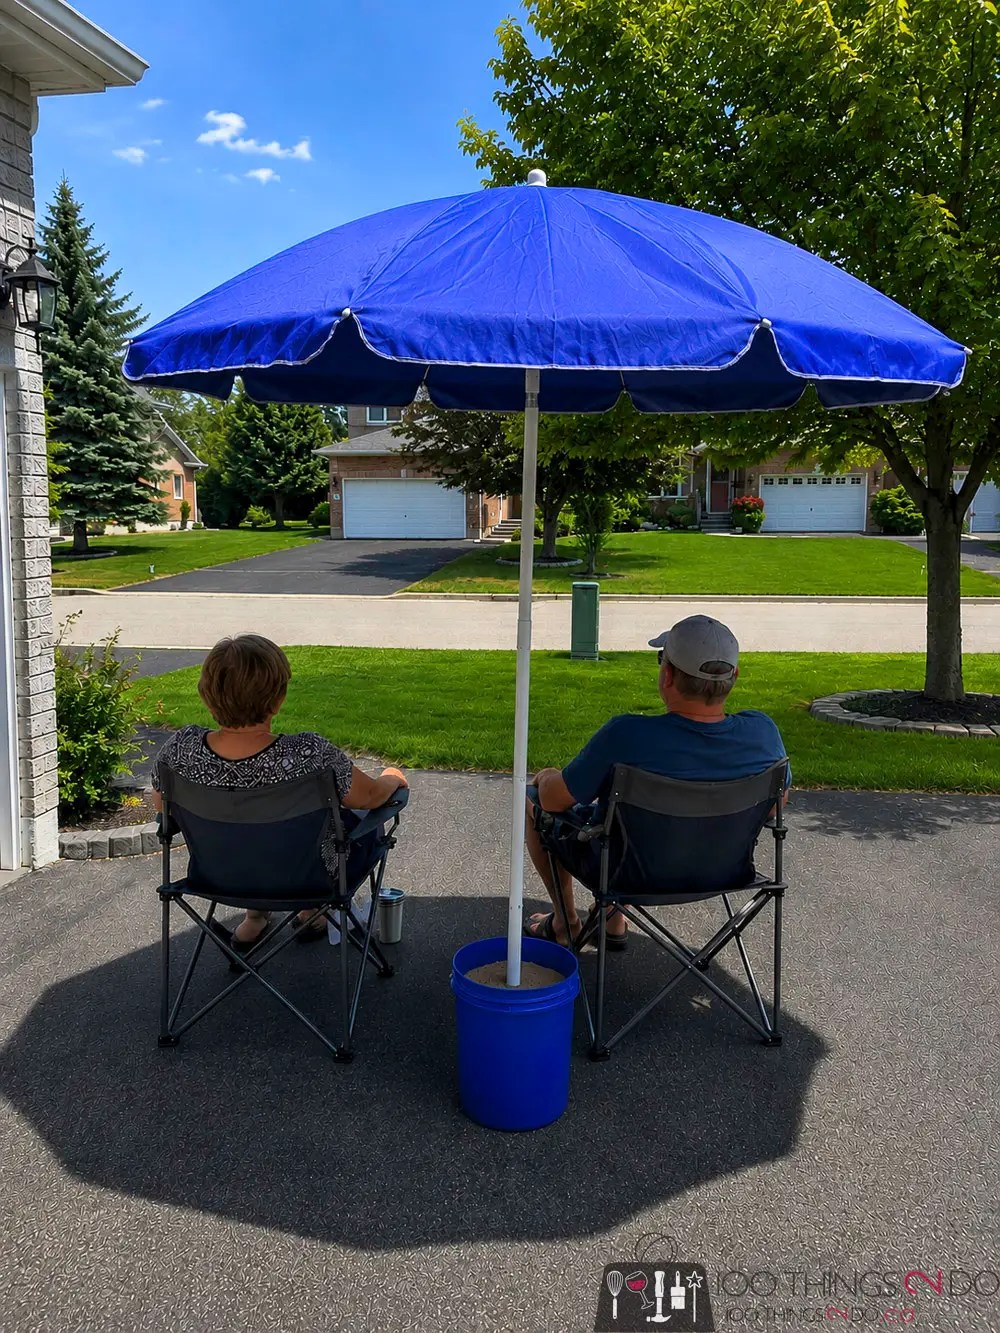
☕ Backyard Relaxation
Two Adirondack chairs.
A cold drink.
A portable umbrella.
No further explanation necessary.
(This is a front yard nosy neighbour image but I don’t believe in limiting oneself lol)
How Much Does a DIY Umbrella Stand Cost?
Approximately:
- Bucket: $5
- Quikrete: $10
- Beach umbrella: $15–30
For around $30–50, you’ll have a durable umbrella stand that rivals many commercial bases costing two or three times as much.
Tips for Success
✔ Use a beach umbrella with a sturdy aluminum pole.
✔ Keep the pole perfectly plumb while the concrete begins setting.
✔ Wrap the pole in cardboard if you want it removable later.
✔ Allow the concrete to fully cure before moving the stand.
✔ If you’ll be dragging it around frequently, consider adding a couple of caster wheels to a plywood base for easy rolling.
Frequently Asked Questions (People Also Ask)
How much concrete do I need for a DIY umbrella stand?
One 30 kg (66 lb) bag of Quikrete Fast-Setting Fence & Post Concrete is enough for a standard 5-gallon bucket.
Can I remove the umbrella later?
Yes. Wrapping the bottom of the umbrella pole in cardboard before placing it into the wet concrete creates a slightly larger opening so the pole can slide out once the concrete has cured.
Is a bucket umbrella stand heavy enough?
Yes. Once filled with concrete, a 5-gallon bucket becomes surprisingly stable for a beach umbrella used in normal conditions. The bag of Quikcrete weighed 66lb (30kg), then we added water… it’s a substantial base and heavier than anything you can buy. As with any umbrella, it should be closed or taken down during strong winds.
Can I paint the bucket?
Absolutely.
Plastic buckets can be painted using products formulated for plastic if you’d prefer something more decorative than bright orange or yellow. I lightly sanded down the Lowe’s yellow bucket to remove the advertising, and to give a can of spray paint something to adhere to. Easy peasy – although an extra cost. Alternatively, you can cut the bucket away with a utility knife and just have the concrete itself showing, or hide the bucket inside a planter pot for something prettier.
Can I use a patio umbrella instead of a beach umbrella?
A lightweight beach umbrella works best because it’s designed with a slimmer, removable pole. Large patio umbrellas can create much higher wind loads and may require a heavier or wider base.
How long does fast-setting concrete take to cure?
Quikrete Fast-Setting Fence & Post Concrete generally sets in about three hours, though full strength develops over a longer curing period.
Can I leave the DIY umbrella stand outside year-round?
The concrete itself is fine outdoors, but storing the umbrella indoors during winter will help extend its life. If your pole is removable, simply lift it out and store it until spring.
Final Thoughts
Some DIY projects save money.
Some make life easier.
This one does both.
Whether you’re creating shade for kids in the backyard, vegetables in the garden, a lazy afternoon at the cottage, or your favourite seat at the campground, this DIY umbrella stand is inexpensive, surprisingly sturdy, and endlessly useful.
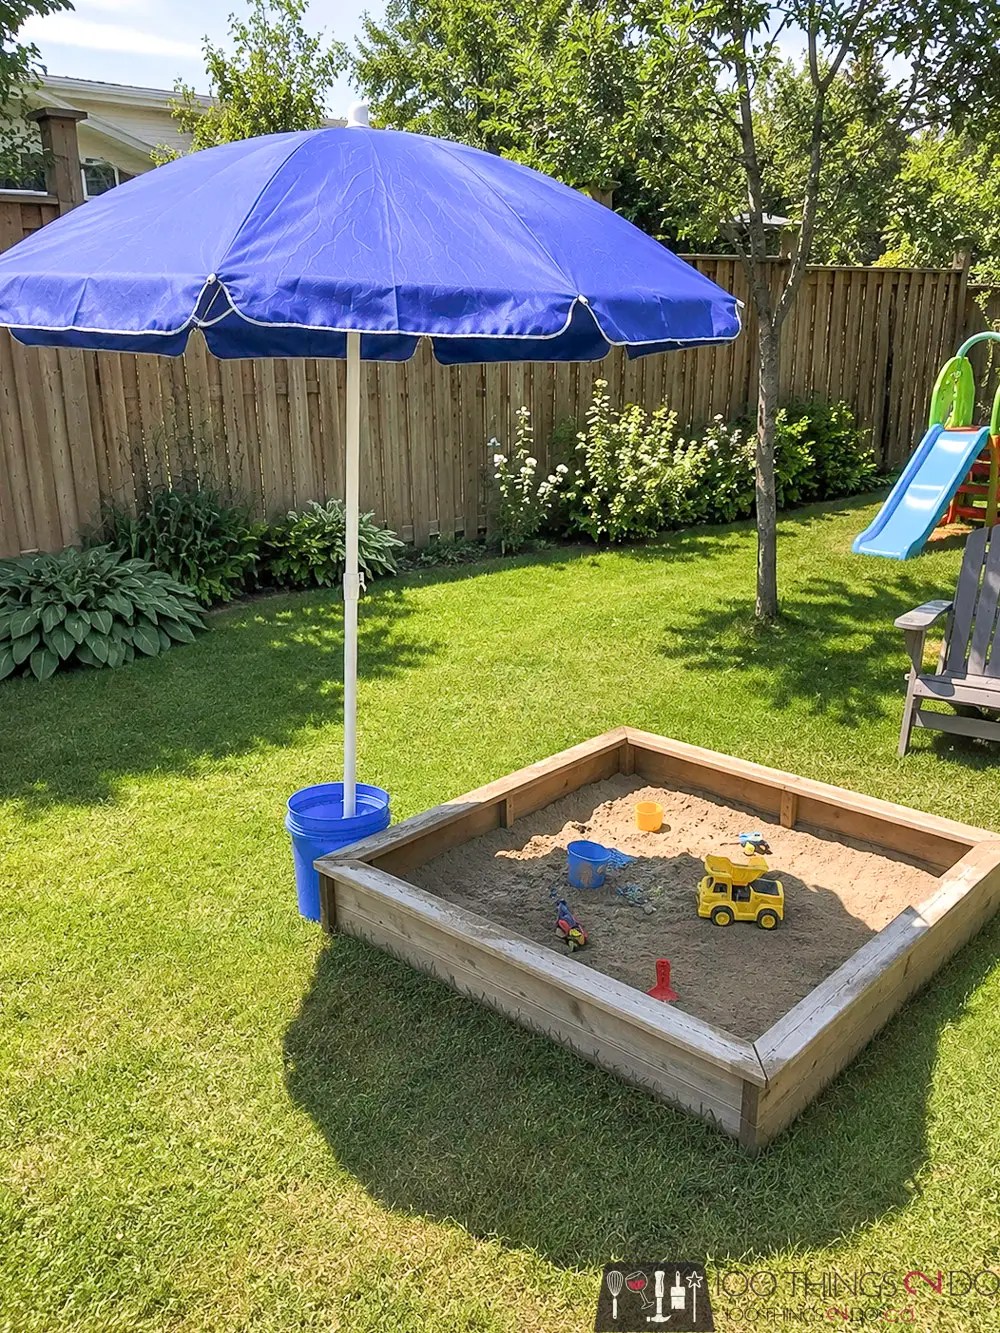
Show it off and then take orders. lol
Pin it for later: