I had no idea what to title this post so that it would reach as many brides (and supporting cast) as possible, but if you’re looking for wedding welcome sign ideas, a wedding welcome board, or a show-stopping DIY wedding display that actually fits back in your garage after the big day—pull up a chair. Or better yet, grab a chai latte and a pencil, because this one’s worth building.
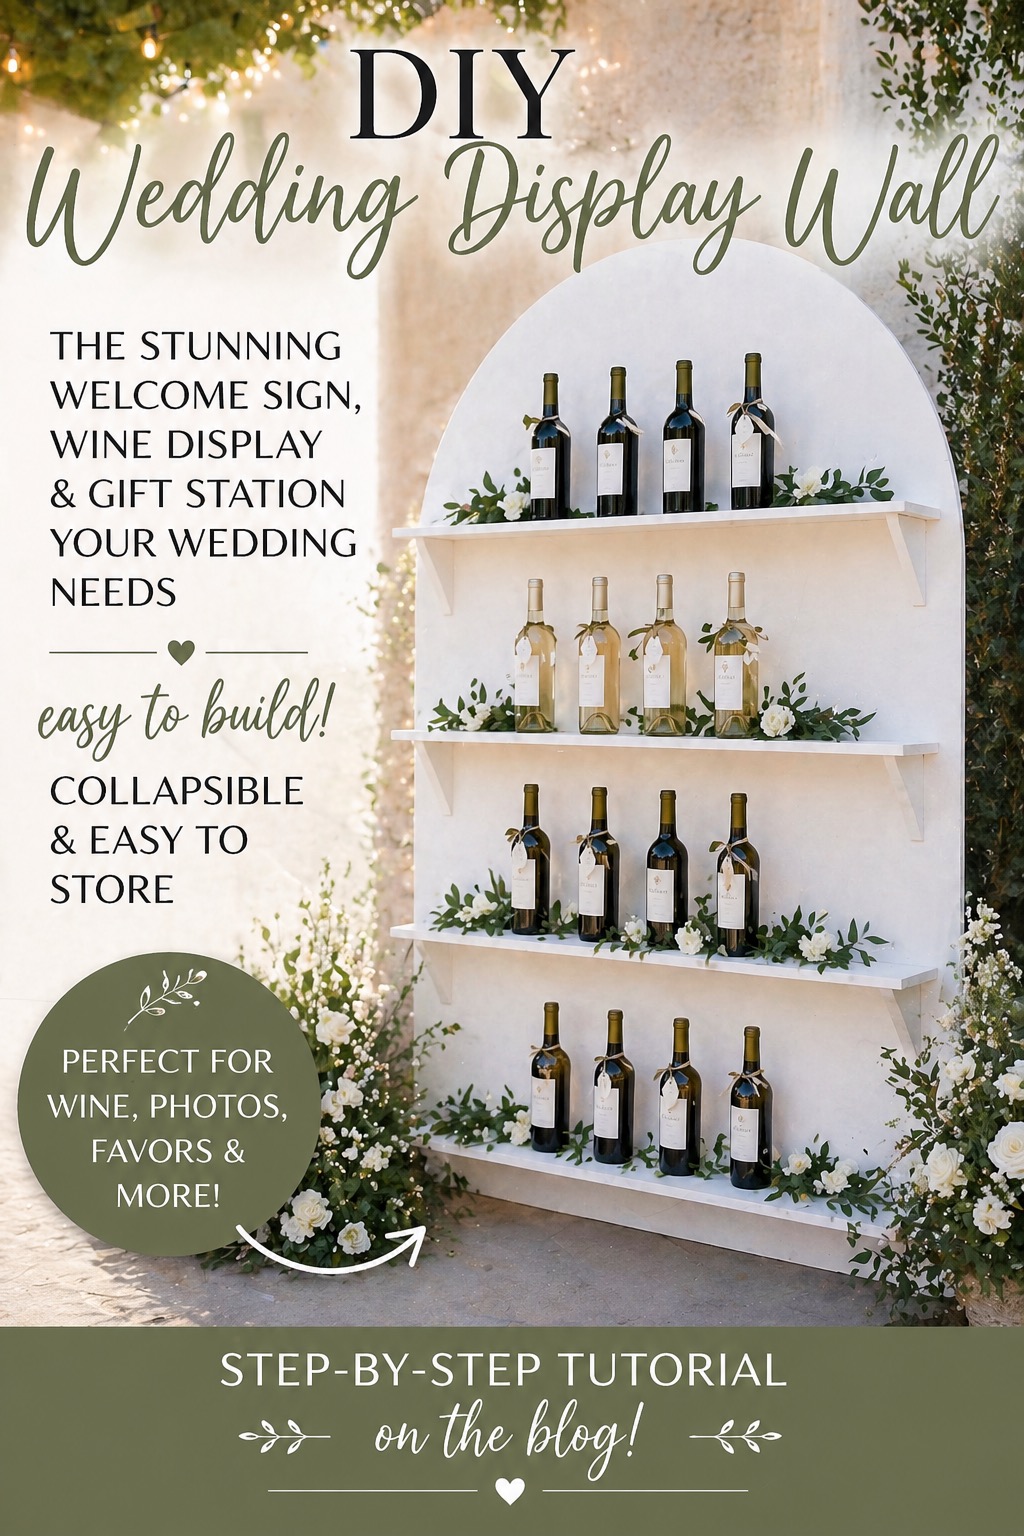
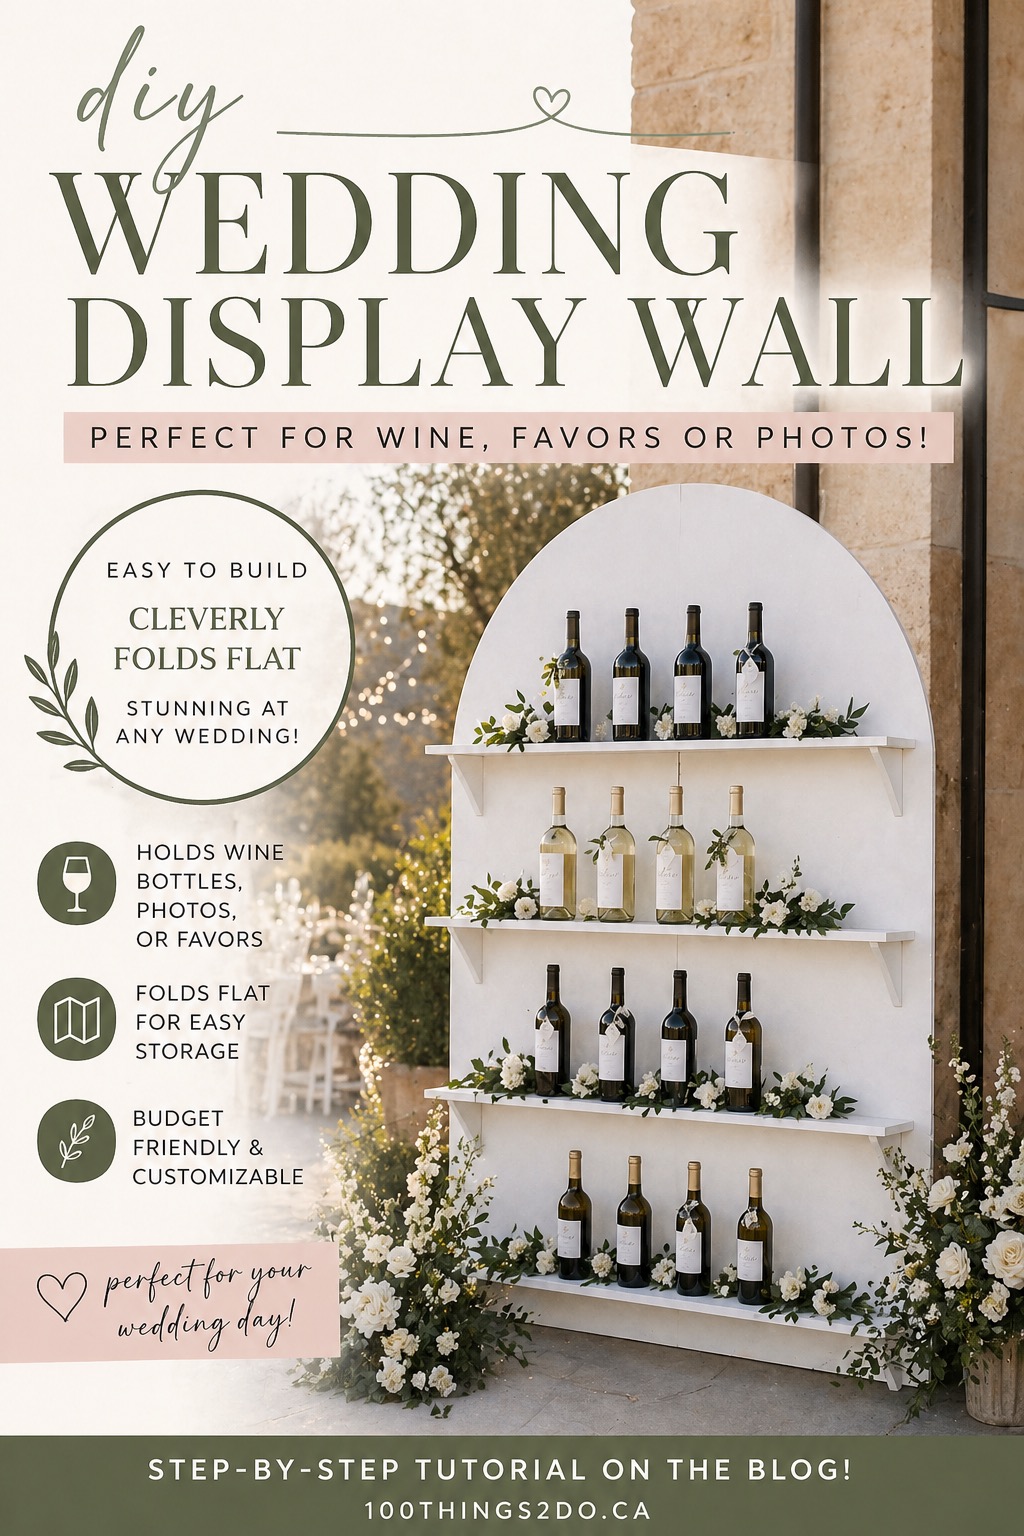
This DIY wedding display wall checks all the boxes:
✔ Gorgeous enough for a wedding
✔ Sturdy enough to hold wine, photos, or favours
✔ Smart enough to fold flat for easy transportation and storage
Why You Need a DIY Wedding Display (Even If You Didn’t Know You Did)
You know those weddings where everything looks effortlessly styled and expensive?
This is that piece. Look posh with just a few hours work and an eye for styling… but without breaking the bank.
Use it as:
- A wedding welcome sign backdrop
- A wedding welcome board display
- A favour station (wine bottles = instant hero status)
- A photo wall of guests in attendance
- A seating chart alternative
- A backdrop at the alter, or as a photo opportunity
THEN
- Save it in your garage and bring it out again for birthdays, retirement parties, showers etc.
Basically, it’s the overachiever of wedding decor.
Materials You’ll Need
- 3 sheets of 48” x 96” x ¾” MDF (this is what I used to make an 8′ display and a 5′ display) You can certainly use ½” MDF if you plan on displaying items lighter than a few dozen wine bottles.
- 1×2 scrap wood for extra hinge support
- Wood glue
- Screws
- Hinges (important for foldability!)
- Shelf boards (cut from your MDF)
- Triangular supports/brackets (made from leftover MDF)
- Primer + paint (MDF HAS to be primed before painting or it will drink up your paint and leave you with a yucky finish)
- Sandpaper (and trim router – optional)
Step 1: Cut Your Arch
Start by cutting your main panel into an 8-foot-tall arch using a jigsaw.
Pro tip:
- Use a string + pencil trick to get that smooth curve. Find the centre (width) of your MDF panel, tap in a nail, then tie a string to the nail. Add a pencil to the other end of the string and then trace an arch
- Or freehand it and call it “organic design” (very on trend)
This becomes the backbone of your DIY wedding display.

Step 2: Build the Folding Arms (The Genius Part)
Now cut two support arms that mimic the arch shape. You can use the string and pencil trick again, or trace the arch from the 8′ board onto a second piece of MDF at roughly the 3′ height.
These:
- Attach to the back
- Swing open to stabilize the unit
- Fold flat when you’re done

Don’t worry, a trim router with a roundover bit and some sanding will clean this right up.
Attach them using sturdy hinges so they:
✔ Open wide for stability
✔ Fold flat for transportation and/or storage
I have almost zero faith in hinges drilled directly into MDF. It might be fine, but my displays were going to hold wine bottles for guests, so there is going to be a fair amount of weight applied.
To reinforce the hinges, and ease my mind, I glued up and attached some 1×2 wood to both sides of the back of the display. Clamp in place until dry before adding your hinges.

Note: You’ll want your wedding welcome sign to tilt back slightly; if it’s completely vertical a stiff breeze or drunken shoulder could tip it forward. I lifted my display arms so that they were approximately 1 ½-2″ off of the ground so that the display leaned back slightly.
Attach your hinges to the backer board at this height and then attach your folding arms.

This photo shows the arms overlapping, but I actually cut them down so that they folded flat.

Step 3: Add Your Shelves
Cut and install shelves with about 15” spacing (perfect for wine bottles, frames, or gifts).
Use triangular supports underneath each shelf for strength. These were cut from the excess MDF and then glued and drilled in place with pocket screws. Again, the bride I built these for wanted them for wine favours, so the reinforcement of each shelf was necessary to carry the weight. If you are using ½” MDF and only plan on displaying flower, candles, or photos – you might be able to skip this step.
Spacing tip:
- Keep it even
- Or don’t… and call it “custom design”

Wine display perfection!

Step 4: Sand, Prime, and Paint
MDF drinks paint like I drink chai—aggressively and without apology.
So:
- Use a trim router to roundover or add unique detail to the edges.
- Sand everything smooth
- Prime (don’t skip this unless you enjoy regret)
- Paint – white is classic, but coordinating with your decor could be equally as striking. Ooooooh! Black would be gorgeous with candles and greenery!

Step 5: Set It Up and Try Not to Keep It Forever
Open the back arms, stand it up, and admire your brilliance.

Then style it as:

- A wedding welcome board with signage
- A wedding welcome sign focal point
- A gift or wine display

- A framed photo wall
- Add florals, greenery, or LED lights if you’re feeling fancy.

Why This DIY Wedding Display is Better Than Buying One
Let’s compare:
| Store Bought | Your Version |
|---|---|
| Expensive | Budget-friendly |
| One-time use | Reusable |
| Bulky | Folds flat |
| Basic | Custom + gorgeous |
Winner? You. Obviously.
Storage (Because Reality Exists After the Wedding)
Once the celebration is over:
- Fold the arms flat
- Slide it behind a wall or into storage
- Rent it out to friends and family
- Save it for every other event in your life because this can be decorated a MILLION ways
🎶 “First comes love, then comes marriage…
then comes baby in a baby carriage.

Birthday parties don’t forget,

then college tuitions and crippling debt.” 🎶

What, that’s not how the song goes? (It should)
It’s basically the Murphy bed of wedding decor.
People Also Ask (SEO Gold, You’re Welcome)
❓ What should be on a wedding welcome sign table?
A wedding welcome sign table can include your wedding welcome board, guest book, photos, candles, and decor. A DIY wedding display adds height and visual interest.
❓ How do you make a wedding welcome board stand?
You can build a DIY wedding display using MDF, shelves, and hinged supports so it stands securely and folds flat for storage afterward.
❓ What is the difference between a wedding welcome sign and a wedding welcome board?
A wedding welcome sign is typically the message itself, while a wedding welcome board includes the structure or display it’s mounted on—like this DIY build.
❓ How do you display wedding favours creatively?
Use a DIY wedding display wall with shelves to create a visually appealing arrangement of gifts, wine bottles, or keepsakes for guests.

❓ Can you reuse a wedding display after the event?
Absolutely. This DIY wedding display folds flat, making it easy to store and reuse for parties, holidays, or future events.
Final Thoughts (a.k.a. Why This Is Worth It)
This project isn’t just a DIY wedding display—it’s a:
- Statement piece
- Photo backdrop
- Functional decor hero
- Reason for a couple photo of my love-child with Chris Hemsworth

Now go build!!
(and Pin it for later)