I have waited since October 13th to share a new challenge I’m participating in – the Half-Hour Holiday Challenge!
Six bloggers coming together to inspire you to ‘get your DIY on’ with quick and easy Holiday projects that you can make in about half an hour.
When Scott (Saws on Skates) approached me about participating in the challenge, I had no idea what to build/make. I needed something relatively simple that could be whipped together in a short amount of time, but still be either functional or decorative and in theme with the Holidays.
I surfed and surfed and finally came across a project that could easily be done as a DIY (or purchased for a bazillion dollars)…
A Christmas card display!
This is so easy, you’re going to kick yourself for not thinking of it sooner (like I did).
I picked up three pieces of ½” ply from out of my scrap wood bin and cut two pieces to 22″ long by 1 ½” wide. I cut a third piece of scrap plywood to 22″ long by 2″ wide.
I held up a small greeting card to the wood and determined that I would need at least ¾” as a base so that the cards don’t tip over. I marked a line at ¾” along the length of all the boards.
To make the mountains (because they are easier to cut than houses or snowflakes) I used a 1 ½” square off-cut, which I traced at random intervals and varying heights, along the length of the first 1 ½” board.
Once I had this placement down I traced it on the other two boards – again random heights, but interval spacing so that none of the mountains would overlap too much.
I used my Rockwell Bladerunner X2 to cut out my mountainscape, never cutting below the ¾” pencil line.
I sanded down all three boards for a (relatively) smooth finish and then painted on two coats of white paint – front, back and tops.
While my Christmas card display was drying, I found another scrap piece of ¼” plywood and cut it down to 22″ long by 2″ wide; this is going to be the base that the mountains are attached to. Paint it around all the edges and on the surface as well.
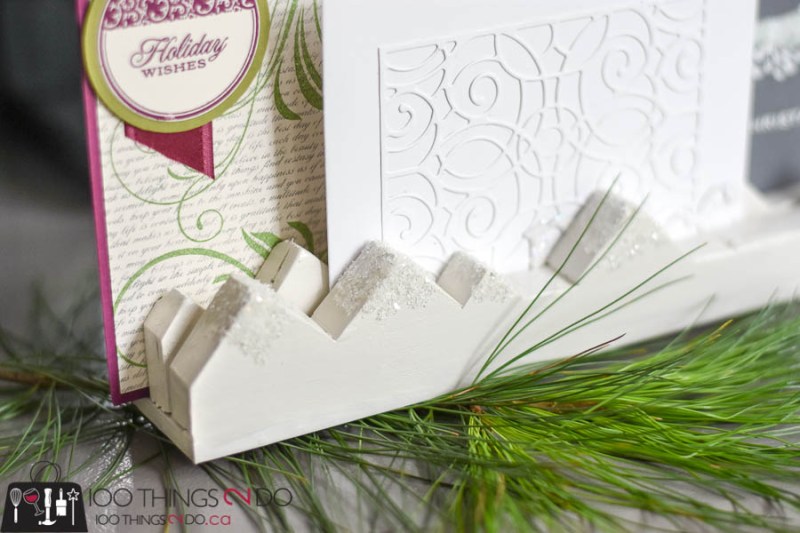
I decorated my mountain Christmas card display with some diamond dust on the front and back rows (it will crumble off once you start placing cards, so the middle row seemed unnecessary).
I used some Gorilla Glue to adhere my mountains to the base piece – one along the front edge, one (taller mountains) along the back edge and then the last mountain range in the middle of the two with a small gap separating each.
A little touch-up here and there and my Christmas card display is ready!
You can set this out early and use it as a bit of Holiday decor even before it fills with Christmas cards.
So much better with snow caps right?
The cards tuck in easily and don’t tip over and – if you are super-popular – you could even double-up between the rows to fit even more.
A cute Christmas card display with or without the cards, and so easy to make.
If you have access to some scrap wood, a saw, and some leftover paint – you could complete the build portion of this DIY Holiday card display in a half hour – paint drying times are not included in my Half-Hour Holiday Challenge submission because really – that’s just tea-drinking-TV-watching time anyways right?
Click over to the other blogs to see what Half-hour Holiday genius they have to share.
-
Saws on Skates – Rustic DIY Christmas Village
-
Hazel & Gold Designs – DIY Customizable Rustic Wooden Advent Calendar
-
Charleston Crafted – Adult Advent Calendar
-
Mother Daughter Projects – Mason Jar Floral Arranger
-
Handmade With Ashley – DIY Wooden Snoman
Have a great one!
Linked to:


This is SO CUTE! I love the little mountains! What a fun idea.
I’d take your DIY Christmas card display over those “bazillion dollar” versions any day! And I love the mountain idea… so original!
This is really cute. I love the layered look :)