Did I tell you I bought a scroll saw the other week?
Yup, I picked up a cheapo on Kijiji (the Canadian equivalent of Craig’s List) a couple of weeks ago, then three days later I noticed my Step-Dad had a brand new scroll saw (still in the box) in his garage.
Scroll saw number 1 is now back on Kijiji and scroll saw #2 is getting a workout as I attempt to replicate HomeSense finds like this:
Cute right?
When I see something like this, I whip out the iPad, snap a photo and go home to plot out how to make my own.
This isn’t an every-DIYer project – sorry guys – this one is slightly more specialized in that you do need a scroll saw to create with.
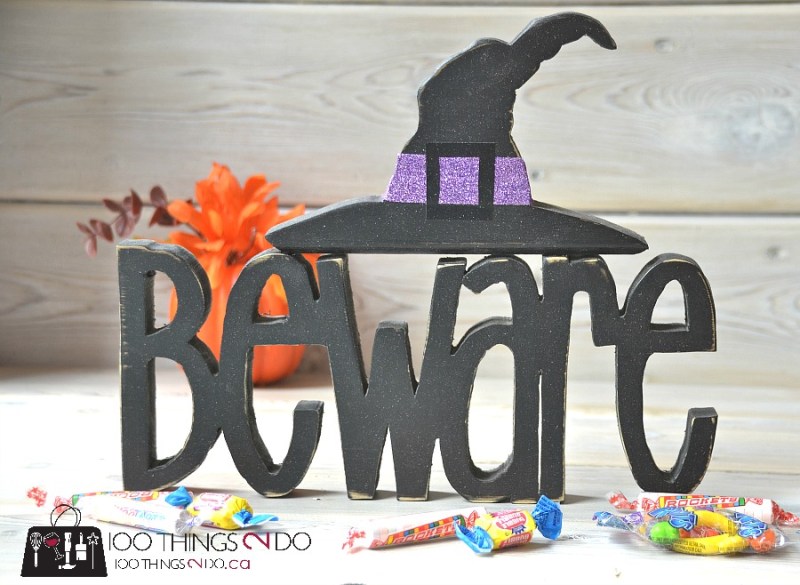
To make these DIY Hallowe’en decorations I cut out the word “Beware” and a witch’s hat with my Silhouette Cameo on adhesive vinyl and attached them to some scrap wood I had in the garage. If you don’t have a Cameo, print out your image and then trace it onto the wood by pressing really hard with a ballpoint pen, through the paper and onto the wood.
From there I wiggled and jiggled the piece around to trace out each letter with the scroll saw.
For someone with experience, these DIY Hallowe’en decorations might be whipped out in minutes, but I have a learning curve here, so cutting the entire thing (centres were drilled and then the scroll saw blade inserted into the holes to cut), it took me about a half hour.
A fun half hour.
My edges were rough, so it did need some sanding to smooth things out a bit – but not too shabby for a newbie right?
My little “Beware” DIY Hallowe’en decorations called out for black paint (okay, I ran out of orange and purple and couldn’t stomach a green version, so black was the last option.)
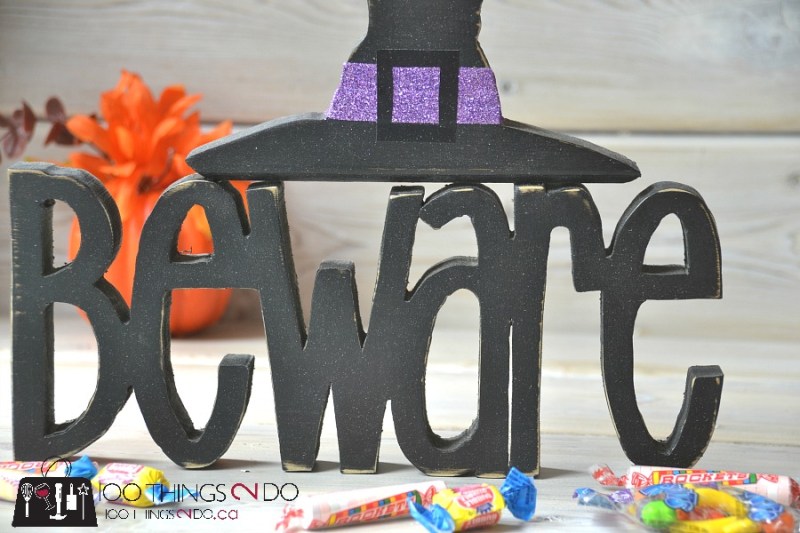
The witch’s hat band was created by two-stripping some double-sided tape and sprinkling purple sparkles over one side then pressing them in to ensure a good grip.
I then peeled off the back of the other side of the tape and wrapped it around the base of the hat:
If you want to glitter up the whole thing, just mod podge it and tap your glitter in everywhere. Gosh that would be cute – maybe my next one.
I love this guy – and I’m not a huge Hallowe’en fan – I could skip the Hallowe’en decorating altogether if I didn’t have the girls and an overgrown boy.
A bit of wood glue and a couple of finishing nails adhered the witch’s hat to the word ‘Beware’.
You could hang DIY Hallowe’en decorations like these on a wall, set it on the mantle or a bookshelf, prop it in a window or even add a stake to the bottom and use it as a sign.
Scroll saw #1 is on Kijiji now if you want to give it a whirl!
Have a great one!
Linked to:


love it,love it,love it