I’m in the throes of a home office makeover right now – searching for both form and function (aka. stylish, but still useful).
One thing I can’t live without is a calendar. I have at least three going at all times; one for the kids (usually paper hanging on my front door), one for the family (electronic for birthdays and vacations) and one for work (to-date it’s been a desk pad calendar).
So when I saw this gorgeousness from Jen at House of Wood, I was ALL OVER IT!
[fusion_builder_container hundred_percent=”yes” overflow=”visible”][fusion_builder_row][fusion_builder_column type=”1_1″ background_position=”left top” background_color=”” border_size=”” border_color=”” border_style=”solid” spacing=”yes” background_image=”” background_repeat=”no-repeat” padding=”” margin_top=”0px” margin_bottom=”0px” class=”” id=”” animation_type=”” animation_speed=”0.3″ animation_direction=”left” hide_on_mobile=”no” center_content=”no” min_height=”none”]
Jen warns you in her acrylic calendar tutorial, and I will reiterate it again here – this calendar takes a LONG TIME to make. We’re talking hours of tediousness – so be warned.
Another thing I will tell you is that making this dry-erase calendar is not cheap – my plexiglass (a smaller piece than Jen’s) came in at $48, the adhesive vinyl another $16 – so you’d better be dedicated and see this thing through to the bitter end.
Plexiglass Calendar
- 1 sheet plexiglass
(acrylic) – found at most home improvement stores.
- 1 roll adhesive vinyl
in the colour of your choice
- cutting machine (I used a Silhouette Cameo)
- chalk markers
or grease pencils
- mirror hangers
- drywall plugs (if necessary)
- square
- painter’s tape
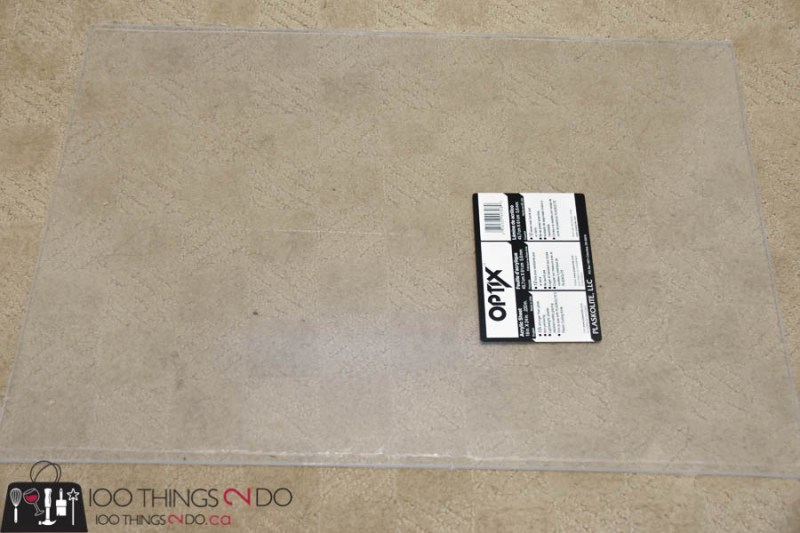
I chose a thicker plexiglass which explains some of the exorbitant cost. If your calendar is going to be flush against the wall you can go with a thinner piece and save mucho-buckos, but I wanted mine to stand out slightly so it needed to be rigid. This piece of plexiglass is 18″ x 24″.
Next you’ll want to create your cut files for your cutting machine.
You can see above that my files have been changed to “mirrored” – this was so that I could adhere the vinyl to the BACK of my plexiglass calendar. Following Jen’s theory, I wanted the front to be completely smooth for easy erasing.
I am attempting to attach my cut files to this blog post – you can download them to your computer and (hopefully) they will open up in Silhouette Studio. If you don’t use a Silhouette, the calendar blocks are 3″ tall by 3 1/4″ wide and fill the 18×24 space perfectly.
Calendar cut file 1 Calendar cut file 2
Now comes the brain-numbing work; transferring your vinyl to transfer paper and then adhering each individual square to your plexiglass/acrylic.
I started at the bottom and worked my way up. Use a square if you have one to keep your columns straight, and use painter’s tape to keep your rows straight.
T – D – OUS!
Have your iPad close by so you can stream Netflix while you’re working.
I had ripped squares, stretched letters and some stick-togethers – which didn’t make the project any more fun than it already was (which was not at all). I did end up using the entire roll of adhesive vinyl.
Eventually you will get it all done (except the “J” in January) and it will all be worth it.
Flip your calendar over and fill in the dates with your chalk marker or grease pen.

I REALLY loved the hangers Jen at House of Wood used, but they weren’t available at my local Home Depot so I went with the cheapo mirror hangers and spray painted them gold.
The white is a bit washed out against my pale blue office walls, but it goes with the rest of the room so I don’t mind. Having the plexiglass calendar set slightly out from the wall casts a neat shadow around the words as well.
I like the grease pens (writing inside the box) for their ease-of-use on a perpendicular surface, but the chalk markers are more vibrant (circle around AUG). I have this set arriving later this week so I can add some colour to my calendar.
Would I do this project again, knowing what I know now?
Probably not – it was expensive and time-consuming – I am however, really pleased with the finished product.
Missing “J” and all.
More office projects in the works – so stay tuned.
Thanks for the inspiration Jen!
Have a great one!
Linked to:
[/fusion_builder_column][/fusion_builder_row][/fusion_builder_container]


