Looking for inexpensive artwork for your home? I found canvas prints on WISH that were of HomeSense/HomeGoods quality, but just needed to be wrapped. Today I’ll show you how easy it is to wrap a canvas print (and save mucho moolah!)
Have you heard of WISH?
It’s an online store out of China, where dozens/maybe hundreds of manufacturers sell their products to the world.
In the experiences I’ve had (which are less than 12), I’ve found the products to be less-than-high-quality, but VERY affordable… so tempting.
I madeover the girls bedrooms this past summer and both of them needed some new artwork for their walls. HomeSense/HomeGoods usually has a great selection, but with Covid back-ups and stock issues, there just wasn’t as much to choose from as there normally would be.
So I checked out other sites and ended up on WISH.
They have a LOT of really inexpensive prints. Like $4-$6 for an 18″ x 24″ canvas.
So I ordered a few.
A few being 6 lol.
The quality of the ones that arrived here is excellent really. I was pleasantly surprised.
But they are shipped as the canvas only – no frame etc. – so I had to do a bit of work to get them wall-worthy.
This is my simple “How to wrap canvas” technique, not that I’m endorsing WISH necessarily (this is definitely NOT a sponsored post because my Jeep mods from WISH were total crap).
How to wrap a canvas print
(like from WISH – because I’m not sure where else you can purchase printed canvases without framing?)
I ripped down some scrap wood to ½” thicknesses. Some home improvement stores actually sell square dowels which would make this even easier, but I went with what I had.
Knowing that the canvas print has to wrap around the sides of the frame so that it can be stapled to the back, I cut my wood to create a frame that was 1″ SMALLER on all sides than the print itself. Half an inch to cover the side, then another half inch to wrap over the back.
If your canvas print has an obvious edge in the image, cut your wood pieces so that your frame will fit within that edge/bleed lines.
I used a simple butt-joint and wood glue to attach the sides together. Nothing fancy – you won’t see it anyways, so why make more work?
I did use a finishing nail at each corner to reinforce the frame, but you really don’t need to if you use wood glue and then clamp it tight until set.
Either/or.
I gave my frames a light sanding to remove any really rough spots.
Then I put my canvas over top of my wood frame and centred the image as best I could.
Hold in place tightly and flip the canvas and frame over in one piece.
Start by stapling the centre of each side in place – pulling taught so the front of the canvas is smooth.
Once you have 4 centres in place, split the differences between the centre point and the frame edge, pull taught, and staple in place.
Complete 1 set of opposing sides first before moving onto the other two edges.
Doesn’t have to be pretty – just flush.
Tap any staples that aren’t flat against the wood frame with a hammer to ensure you won’t get scratches on your walls.
For the corners, I did a simple gift corner; folding one side against the frame and then folding the other side over top of that. The seam is almost invisible, but I made sure that any folds were on the bottom and top of my canvas so that they wouldn’t be seen from the sides.
Pretty easy eh?
This technically is the end of the “how to wrap a canvas” portion – the next bit is just extra…
for that daughter that wants her canvasses framed as well. (facepalm)
I cut 4 more lengths of ½” wood (or square dowels) starting with the width of the top of the wrapped canvas.
Rest the pieces at the top and bottom of the picture, and then measure the lengths for the sides – so that the sides will butt up against the top and bottom and won’t show seams at eye-level.
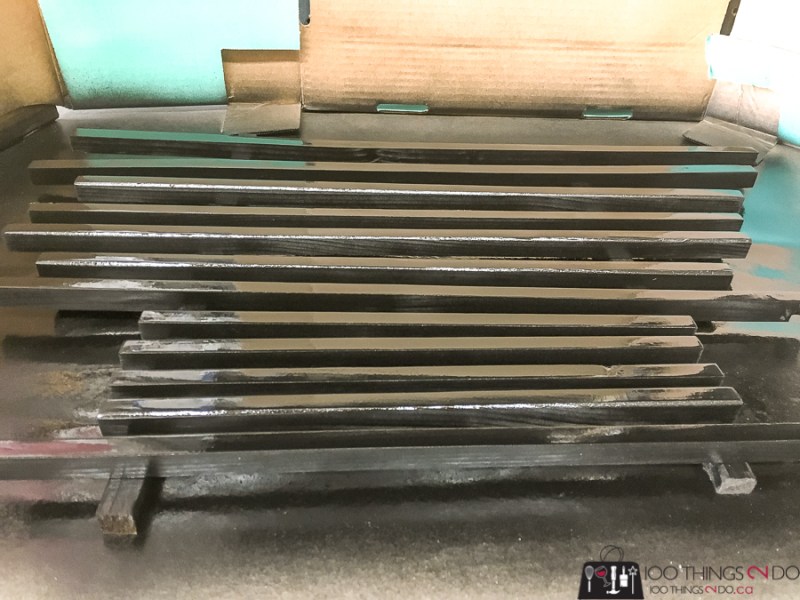
I sanded, primed and then painted these boards.
Use finishing nails to nail them to each other at the corners (butt joint) and then an additional finishing nail along each side to ensure they stay in place on the canvas itself.
Before:
After:
Yes, my daughter may have been right – these wrapped canvasses do look better framed as well.
I can’t show you them hung on the walls yet because I’m saving the bedroom makeovers for a different post.
I just wanted to share this in case you were looking for really inexpensive artwork for your home, but were concerned about how to frame them up to hang.
(The painted drawers in the background are for yet another post I haven’t written yet… I told you I’m working! lol)
Have a great one!


