Do you have dry mix packages cluttering up your your cupboards or pantry? This simple pantry organizer for spice packets will keep them organized.
I did a poll on Instagram recently about what content you would like to see more of on the blog. Gratefully, the majority vote was “small builds”. Whew!
There are some bigger builds coming this summer, but I was worried that I was letting you down with smaller projects, so it was a great relief to know I don’t have to build the Eiffel Tower every time I put an article up.
Today’s post is super-simple – perhaps boringly so – but it was something I needed, so I thought I’d share in case you do too.
You know those dry mixes; gravies and salad dressings you buy from the grocery store? They are tedious to store right? Especially if you have wire pantry shelves and the packages end up at the back somewhere or fall between the bars – which means I forget they are there.
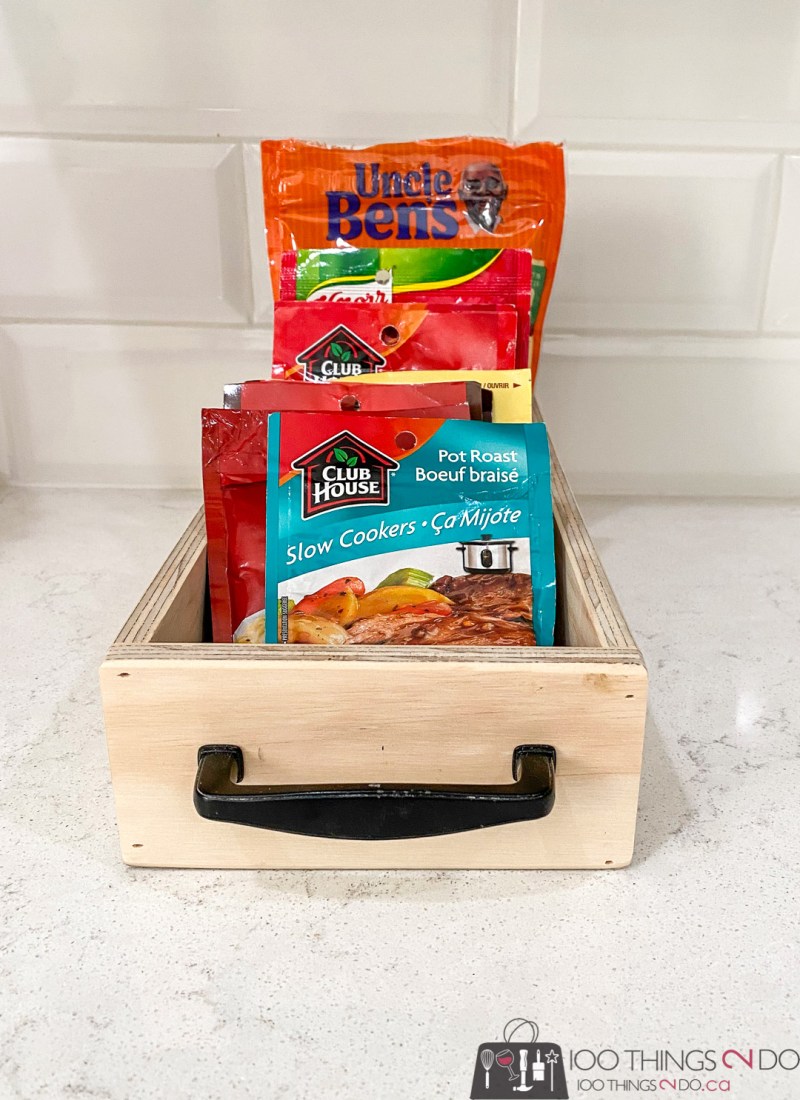
I wanted a small pantry organizer for spice packets to keep them in one place, in plain sight, and easy to reach for a grab-and-go pantry search.
Perfect!
Better still, made from scraps of wood!
Pantry organizer for spice packets
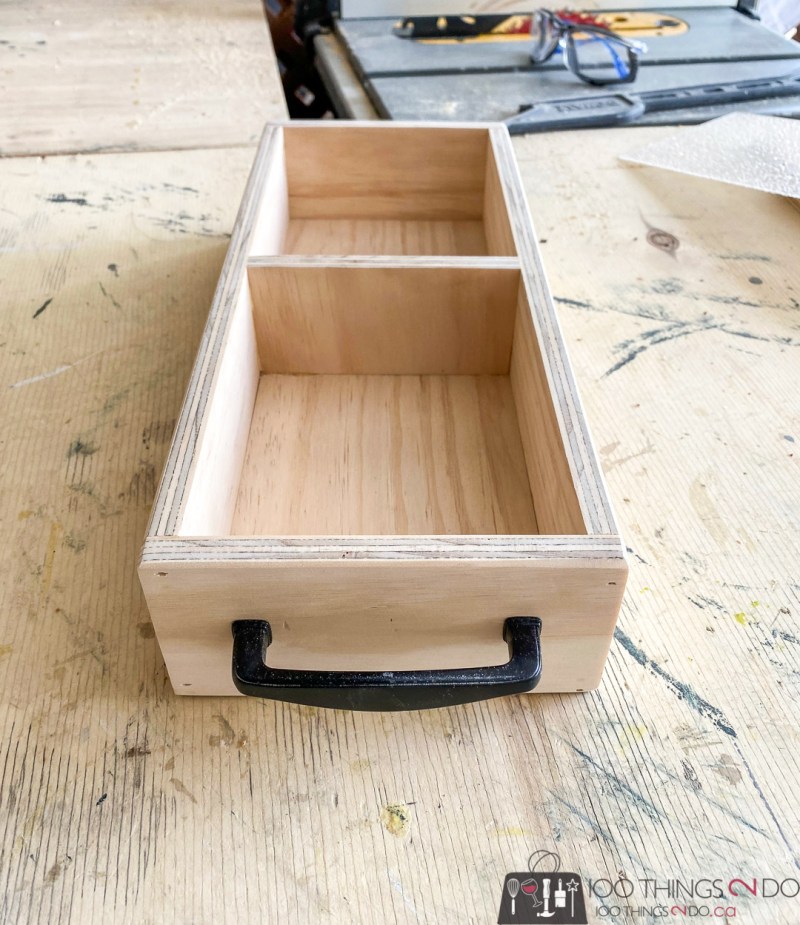
These measurements will fit any spice packets up to 6″ wide and a pantry shelf that is larger than 15″ deep.
- (1) 1/2″ ply cut to 14″ x 5″. BASE
- (2) 1/2″ ply cut to 14″ x 2 3/4″. SIDES
- (2) 1/2″ ply cut to 6″ x 2 3/4″. ENDS
- (1 or more) 12″ ply cut to 5″ by 2 1/4″. DIVIDERS
- wood glue
- finishing nails. 1″
- handle or knob (optional)
- sandpaper
There aren’t a lot of steps to this for me to share;
I will say that I sanded the boards before assembly, only took a minute or two and it would have been much more difficult to sand the inside of your pantry organizer after assembly.
Run a bead of wood glue on either side of the base.
Line your side board up perpendicular to the base and nail into place with 1″ finishing nails. Repeat on the other side.
Run a bead of glue along the end of your base board AND the edge of the side boards and attach your end pieces with 1″ finishing nails.
The final piece/pieces of wood are for dividers. I only went with one because I don’t have a ton of spice packets, but one was necessary to keep the dry mixes from falling flat. You can add as many or as few as you’d like for soups, gravies, salad dressings, pasta sauces, tacos etc. It’s just a matter of adding a bit of wood glue to the two short and one long side of the divider piece and placing it inside your pantry organizer. (I nailed it into place from the sides.)
It’s been a long time since I’ve shown how I attach handles, and for awhile it was a really tedious thing – screws not lining up perfectly with the holes.
I like to place my handle on the sticky side of a piece of painter’s tape:
Next flip the tape over with the handle attached and poke a hole through where the screws will go.
Then all you have to do is mark the centre between your holes on the tape and the centre of your drawer/tray front and line them up. Drill your holes through the tape holes and into the side of your pantry organizer.
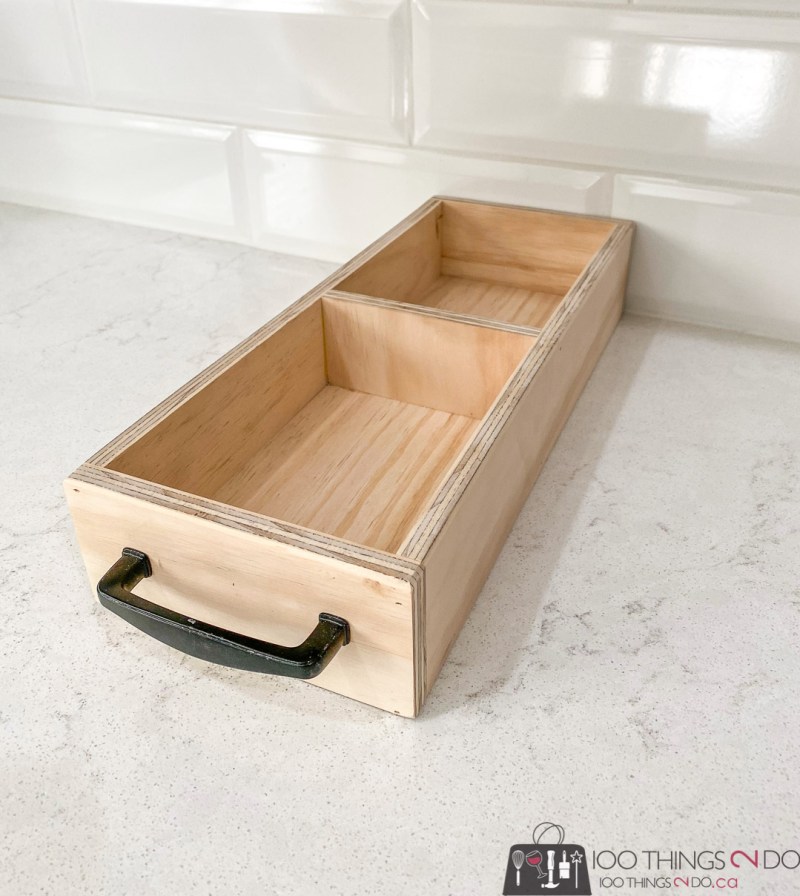
This was a handle I had tucked away in my stash of handles from other refinishing projects – nothing fancy, and only one so that the pantry spice tray will sit flush against the back wall.
Easy peasy!
Quick, free and a great organizer for anything really – I may have to make a few more.
I could paint it out so that you don’t see the plywood edges, but for my use I wasn’t concerned with a finish.
The centre divider keeps all the spice packets from falling down and laying flat on the bottom of the pantry organizer.
I’m really pleased with this organizing project – but it sort of pisses me off that I didn’t think of it sooner. Hopefully I’ve inspired you before the spice packet frustration makes you bonkers. 😂
Have a great one!


