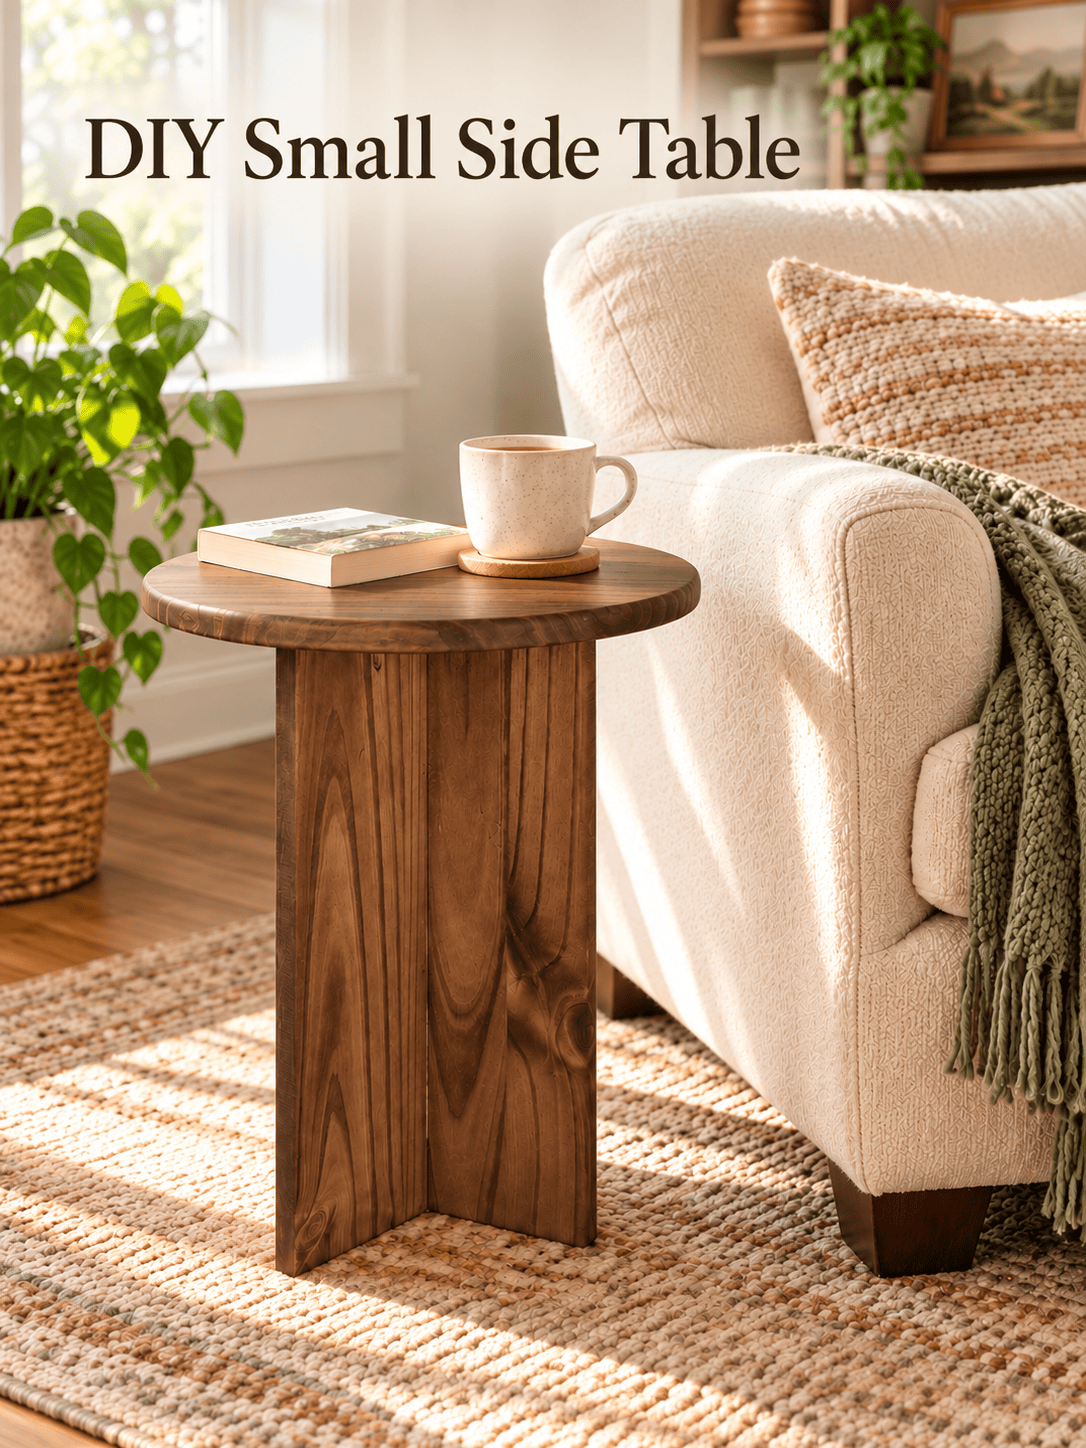
This DIY side table combines a round wooden top with a sculptural three-panel base to create a small side table for an office, reading nook, or bedside.
A small side table for my office
My office needed a little something between the chairs. A full-sized end table would have taken up too much room, but leaving the space empty seemed like a missed opportunity, particularly given the beauty of that wall mosaic (that a student left behind?!!)

The mosaic is stunning, the office chairs; not so much. The space between them; a mental torment I couldn’t cope with.
I wanted a round side table with a compact footprint, visible wood grain, and a base interesting enough to make the project worth doing. Something useful, but with a little personality.
Quick, inexpensive, pretty, and functional… I didn’t want my heart broken if it was absconded or damaged, and I didn’t want to commit to a full weekend of work just in case that happened.
Having written that – you can absolutely build a larger size, out of better wood, and create a true statement piece for your home.
What makes this 3-leg side table different?
Instead of three narrow furniture legs, this table has three broad wooden panels arranged around a central joint. From above, the base has a Y-shaped layout. From the side, it almost looks like a little wooden pedestal.
The circular tabletop softens those straight lines, and the stained wood gives the whole thing some warmth.
It’s a simple-looking design, but the base is doing most of the visual heavy lifting.
Which is considerate. I prefer furniture that contributes.

Building the DIY side table
Here’s a look at how the table came together. This is a project overview; use your chosen dimensions before cutting your own version. My table top is 15.5″ in diameter and an overall height of 22″. These measurements are easily changed to fit whatever space you want your table to fit.
1. Cut the table top
I had a 1″x 16″ laminated white wood panel in my garage. I know, what are the chances?! Truthfully, it’s been sitting in my garage for months for a console table I had planned to build last Spring.
As it turns out, the side table for my office annoyed me more than the empty space under my bedroom TV. BUT, 1×16’s run about $30 CDN, so a cheaper option would be to laminate (glue together) smaller boards to give you the diameter you want. Easier, but slightly more expensive, would be to use ¾” plywood and then iron on a veneer on the edges.
Whichever way you decide to go, you’ll want to cut a square just larger than the diameter of the small side table you want.
Drawing a line from corner to corner, find the centre point and use a router jig (or jig saw) to cut a circle. Before attaching your router jig with a nail or short screw, make sure you are drilling into the underside/ugly side of the wood – and don’t drill all the way through or we’ll be left with a wood putty situation.

2. Lay out the panel legs
The base starts with three wooden panels. Their layout and centre joint matter: you want the panels to meet neatly and support the tabletop evenly.
This is the part where measuring deserves your full attention. My table legs are inset from the table top by 1.5″ on all sides. You can do more, you can do less (I don’t suggest less or your DIY side table will look heavy).
Set your table saw at a 30º bevel, with your rip fence at the width you want each leg and cut. If you are working with one long board, you’ll only need to use this angle once and then you can cut it down on your mitre saw for the height you want. If you are using smaller pieces of wood, you’ll run each them over your table saw on one side only. The other side stays at the 90º cut you purchased it at.

If you have plans to use your small side table outside, this is where you’d use outdoor wood glue that can withstand the elements.
3. Assemble and clamp the base
With the joining edges prepared, the panels come together to form the three-legged base.
The build photos show the assembly held with clamps while the glued joints set. Dry-fitting first gives you a chance to check the fit and alignment before everything becomes considerably more committed.

I did use a few finishing nails to hold it in place while the glue dried, but the majority of the muscle in the assembly is in the glue-up itself.
4. Centre and attach the round tabletop
The underside of the tabletop is marked with the three-part layout so the base can be positioned beneath it.
I set the base onto the underside of the table top and then shifted it around until I had an equal leg-to-edge space of 1.5″.

I drilled one pocket hole into each leg to allow for a pocket hole screw to hold the base to the top. You can fill these holes later with dowels if you want.

Turn it upright and suddenly the collection of boards becomes an actual small side table.
A very satisfying stage.
Much better than the stage where it’s just sawdust and doubt.

5. Sand and finish
Before finishing, smooth the surfaces and soften any sharp edges. The round top is a surface people will touch, so this is worth taking your time over.
I used a roundover bit and a trim router to give it a softer, more finished edge.

Then comes the stain.
And, if you’ve seen my collection of finishing products, you’ll know that choosing a colour is a separate hobby of mine.

I went with a warm brown finish for the table in my office. It brings out the grain and works with the large wooden artwork above the chairs.
Follow the stain and protective finish instructions, including drying and curing times, before putting your table to work.

I know, I know – “it looks awfully orange Shelly”.
In the garage light it did seem a tad orange, but I needed it to go with the mosaic in my office, so I had to lean a little more toward orange than brown.
Where could you use a small side table?
Between office visitor chairs
This is where mine lives, holding a small plant and making the seating area feel more welcoming.
I’m not a fan of those chairs, but until I build new ones, they’ll have to do… interior design and aesthetics are somewhat lost in a trade school.
For now I’ll give you the AI version of my office – which will inspire us both:
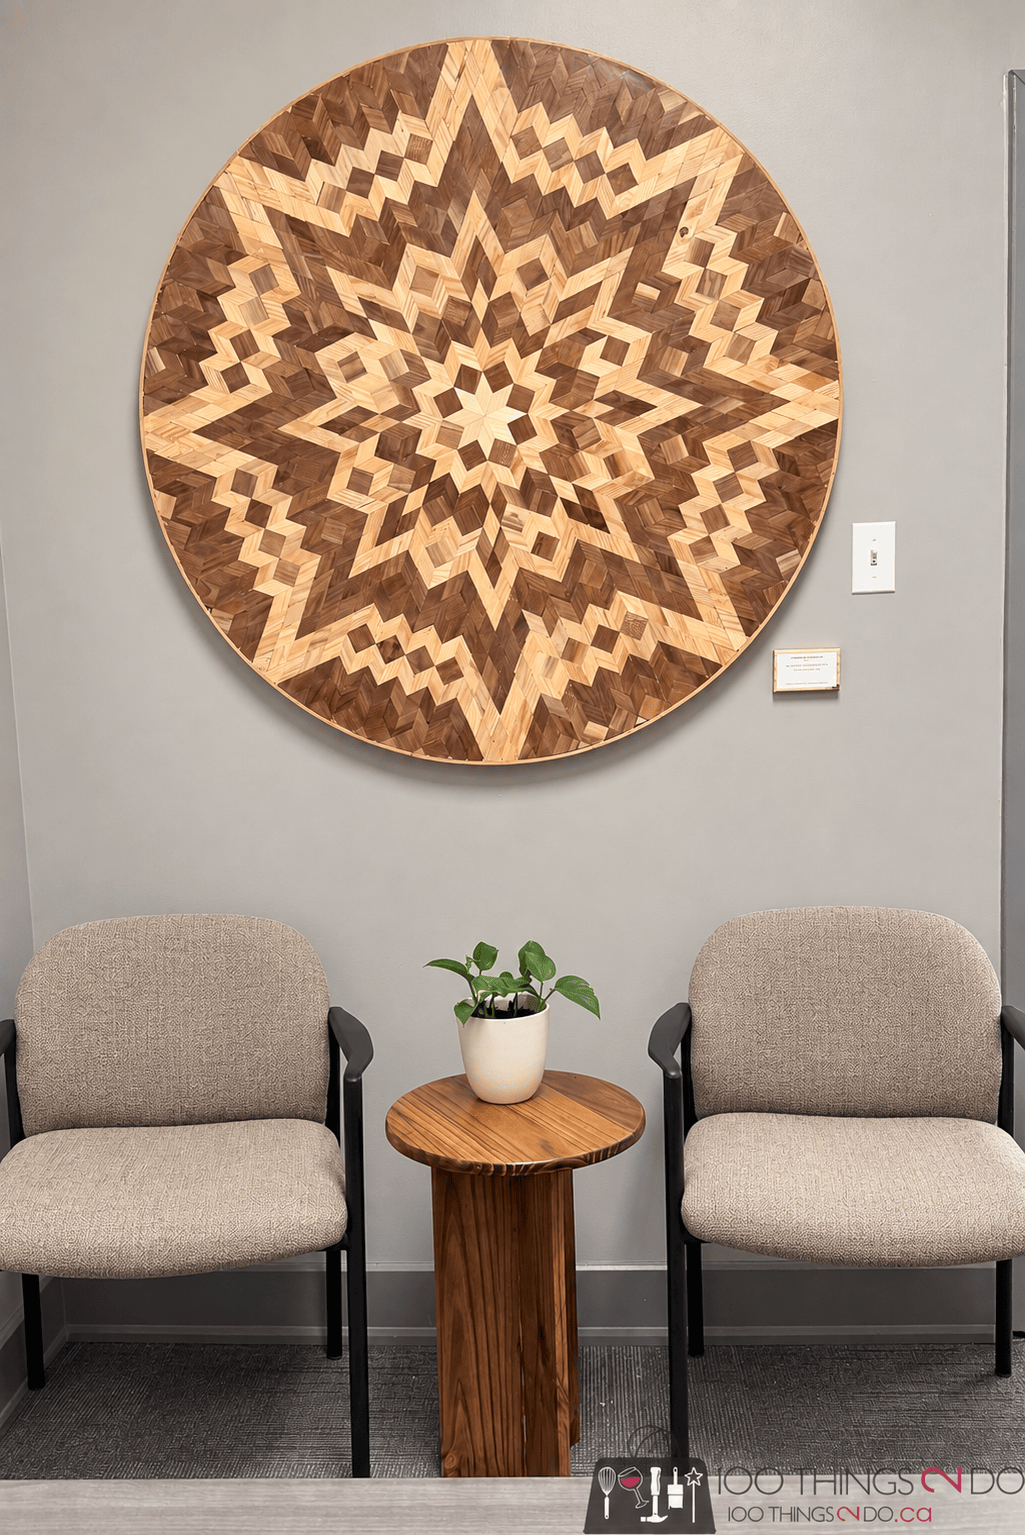
(Did you even notice the table? I didn’t either – that mosaic is incredible.)
The trick is keeping the styling modest. A small side table should still have room to be useful.
Beside a reading chair – AI help me out…
A book, your glasses, and a hot drink: that’s a perfectly respectable workload for a little wooden side table.
Place it beside the chair arm where you can reach it comfortably. Nobody wants their relaxing afternoon to include a core workout every time they need their tea.
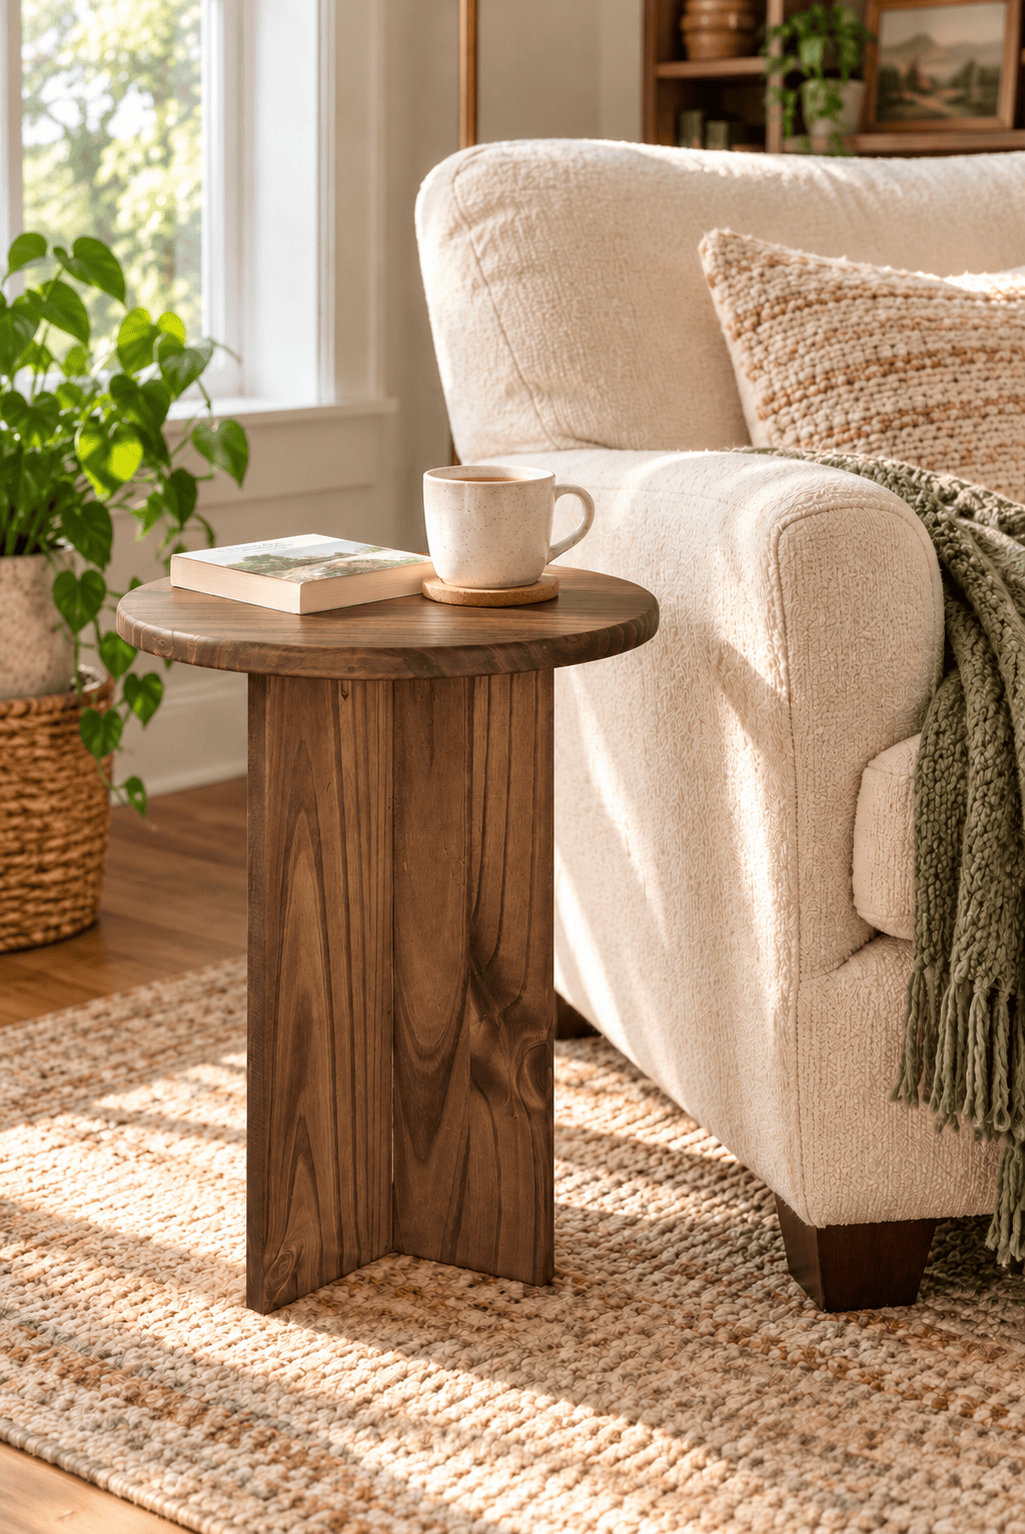
Man, I’d love to be sitting there right now. (sigh)
As a compact bedside table
If you don’t need drawers, a round side table can provide a spot for a book and a glass of water without the bulk of a larger nightstand.
Choose the height in relation to your mattress so it’s comfortable to reach from bed.
A muted greige finish could also work beautifully with neutral bedding.
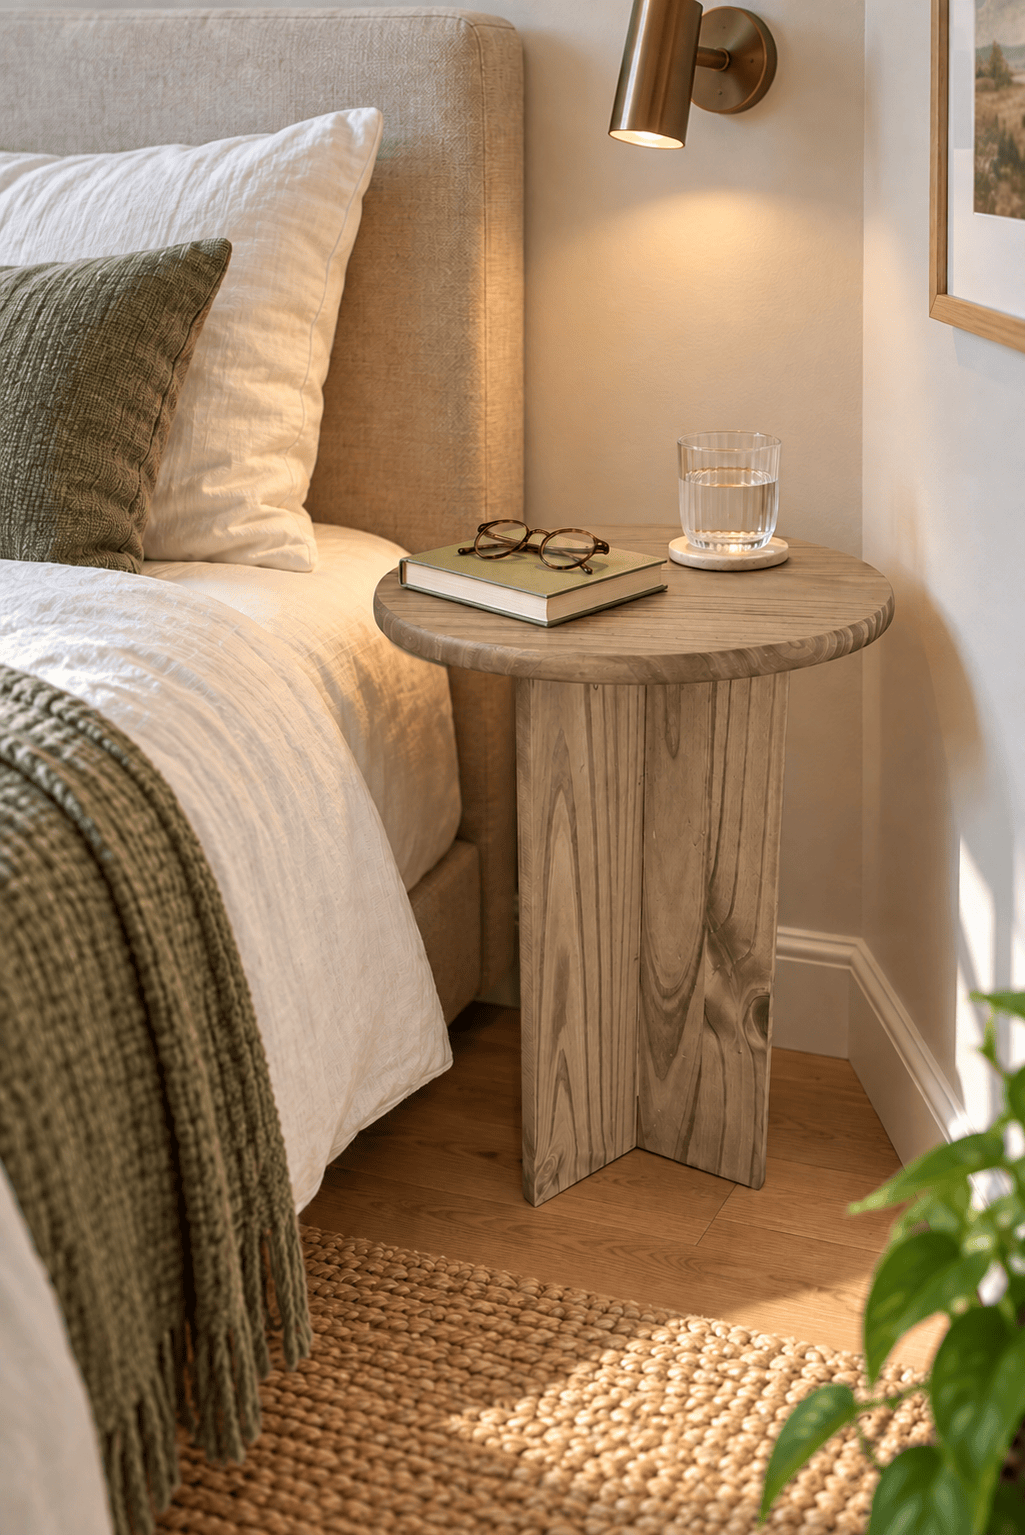
Keys Please
Drop your keys as you walk in the door, grab your keys as you’re leaving. Jeepers AI comes up with great ideas sometimes!
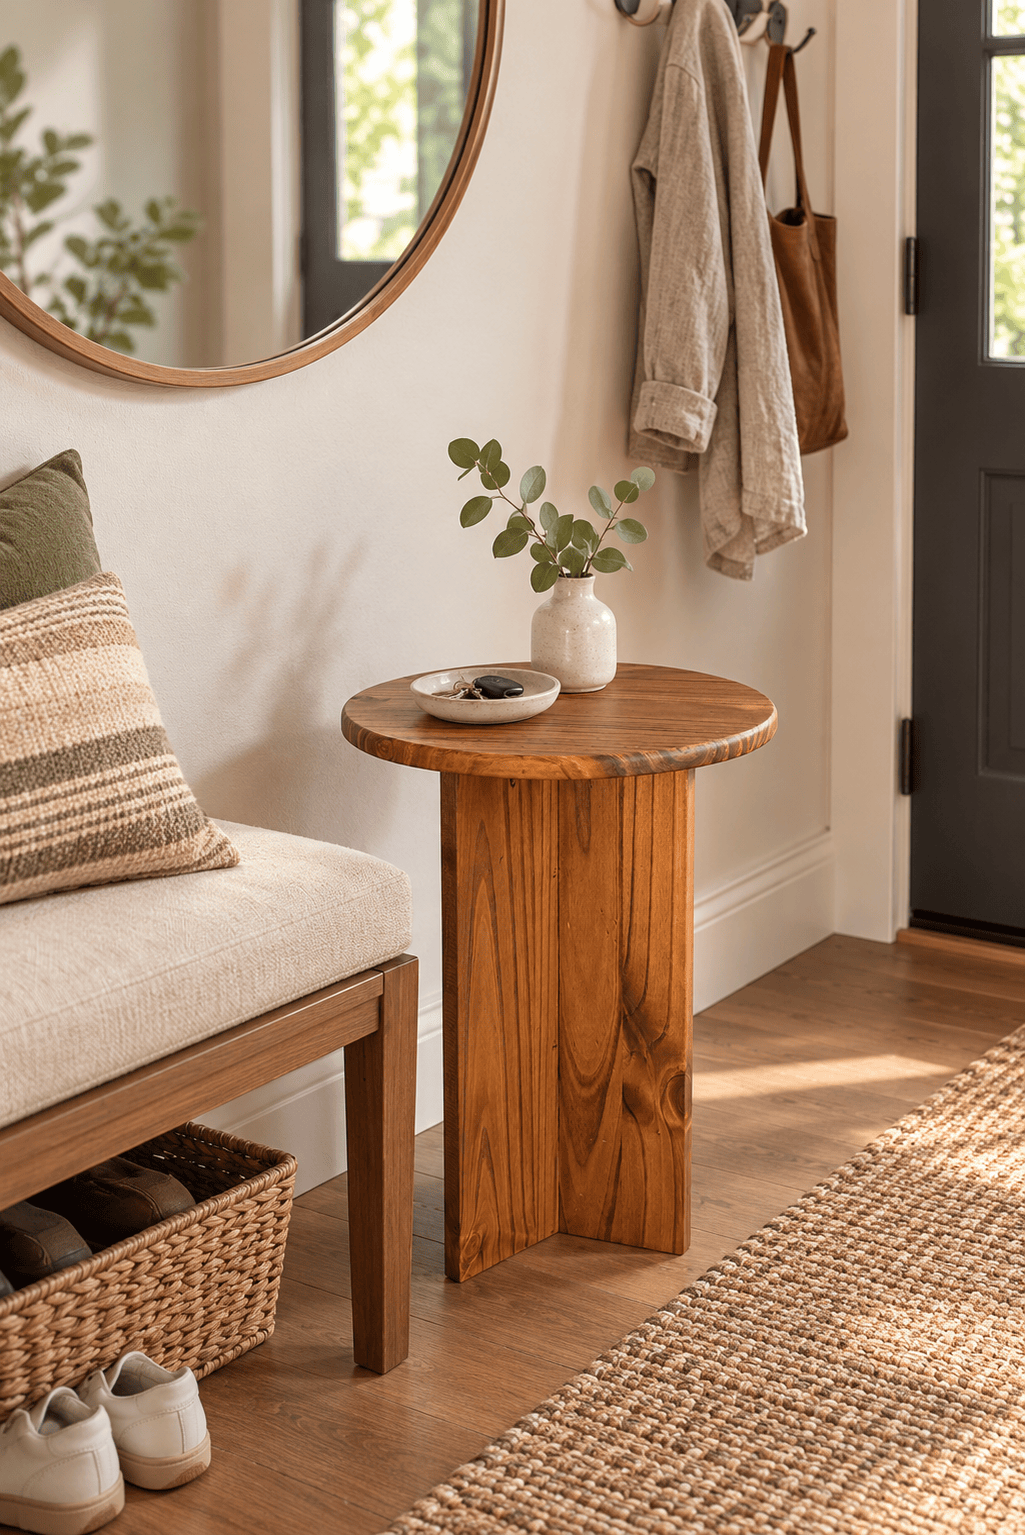
On a sheltered porch—with the right materials and finish
This is the version that makes me want to cancel my Sunday plans.
A blanket over the chair. A hot drink beside you. Fall trees in the background. A small pot of ornamental cabbage and peppers, because you know I can’t leave a horizontal surface entirely alone.
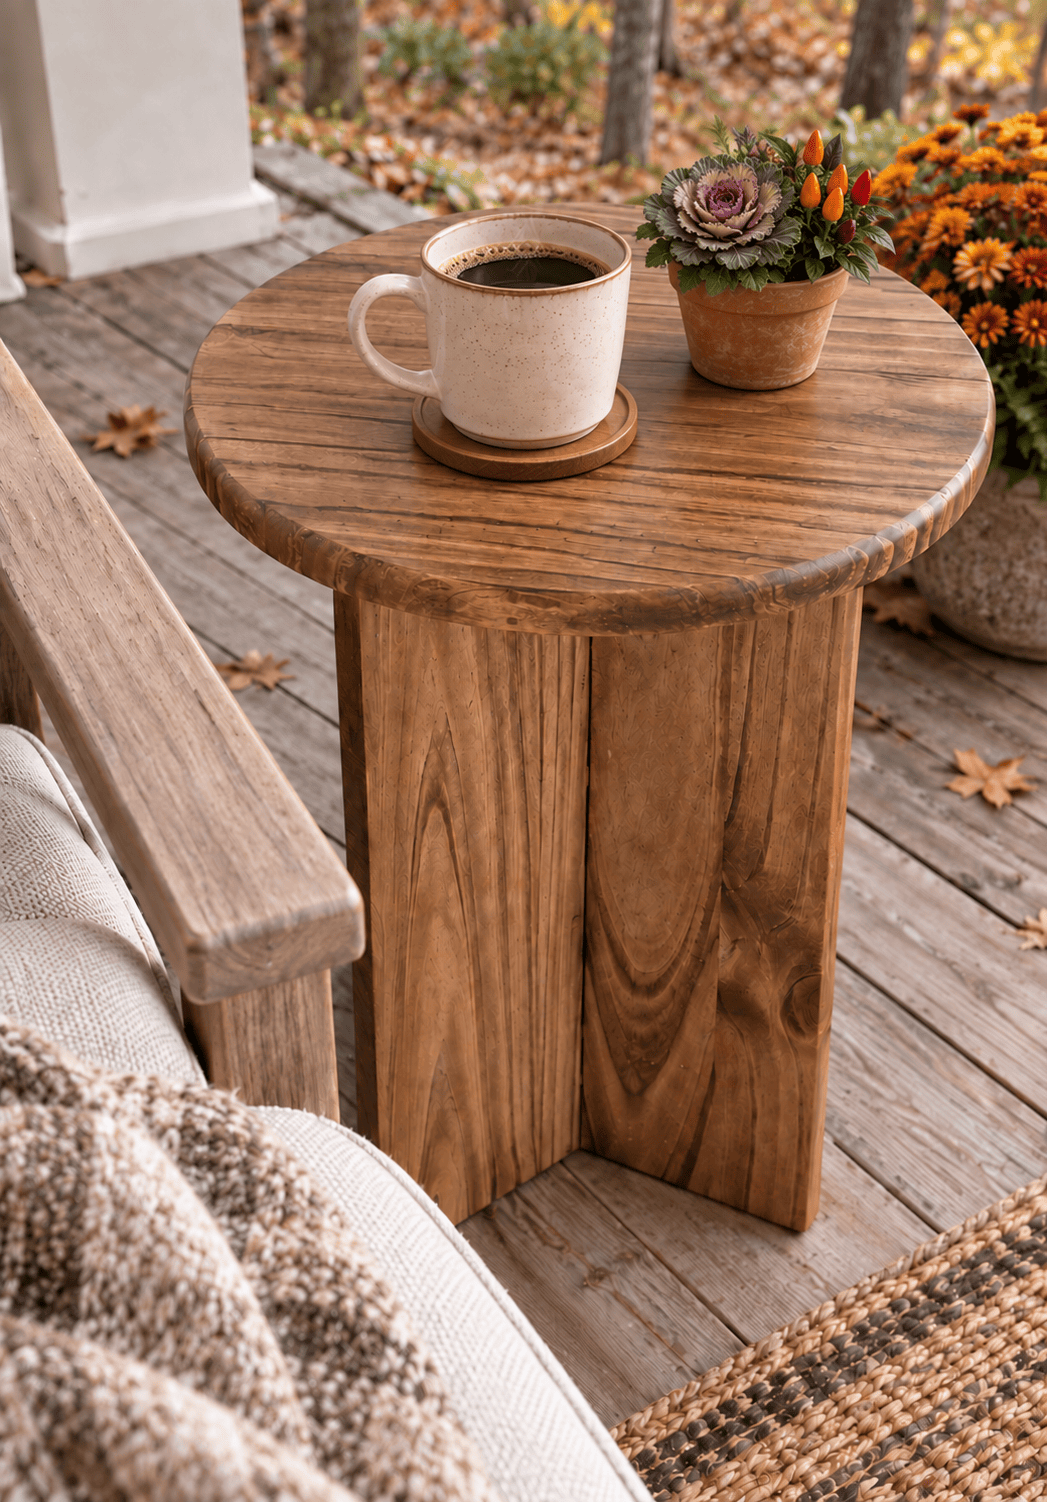
Outdoor use needs more than the fact that the table is wood. Choose wood, adhesive, hardware, and a protective finish suitable for the exposure. My indoor table shouldn’t be assumed to be weatherproof.
Styling a DIY side table without hiding it
For this design, I’d keep it to one small decorative item and whatever you actually need beside your chair.
Let the round top and sculptural base show.
The whole point of building a table is that you get to use the table.
Otherwise, I could have saved myself some sanding and put a plant on a cardboard box.
Small side table FAQs
What height should a small side table be?
Beside a sofa or chair, aim for a tabletop close to the arm height so drinks and other items are easy to reach. For a bedside table, use the mattress height as your reference. Measure the furniture it will sit beside before choosing your table dimensions.
Is a 3-leg side table stable?
A well-built three-legged table can sit without the rocking caused by an uneven fourth leg, but it can still tip. Stability depends on the support footprint, tabletop size, height, joint strength, and load placement. Check your finished table on a level floor and avoid heavy objects near the edge.
Can a DIY wooden side table be used outside?
Yes, if it’s wood, joints, adhesive, hardware, and finish are suitable for outdoor conditions. An indoor wooden table isn’t automatically weather-resistant. A sheltered porch reduces exposure, but moisture and temperature changes still need to be considered. PLYWOOD and/or MDF are not made for outdoors. If it’s going outside, it has to be wood.
How long does it take to build?
Less than 2 hours, and part of that time was just setting up my router jig and clearing a surface to work on. I decided on a Friday to make a table, and by Saturday afternoon (after a leisurely tea and book), it was drying in the garage with a coat of stain on it.
SO FLIPPING EASY!
Wood – jigsaw/router – table saw – mitre saw – sander – done.
Small table. Very useful little overachiever.
My office now has somewhere for a plant, a bit more warmth, and one more handmade piece that makes the space feel like mine.
That’s what I like about a DIY side table: you can build for the space you actually have, then finish it to suit your room.
Or your office.
Or your imaginary Sunday afternoon on a porch overlooking a forest.
I built the table.
I’m still working on acquiring the forest.
Pin it for later: