
A DIY farm stand can do much more than sell sourdough at the end of a driveway. This wooden, three-tier DIY display stand works for baked goods, craft-market products, fair merchandise, pet supplies and even classroom storage.
I built three—one for a friend’s roadside sourdough business and two commissioned by London’s Western Fair—and now I’m seeing potential uses everywhere.
Which is usually how things go around here.
I build something useful, take a few photos, and suddenly every room in the house suddenly needs one.
Three Farm Stands, Two Very Different Jobs
The first farm stand was for a friend starting her own sourdough business by the side of the road.
Fresh bread. A little country drive. Carbohydrates waiting conveniently at the end of someone’s driveway.
Honestly, this is the kind of roadside assistance I can get behind.
Her stand became Wyton Station Bakehouse, with a wooden sign above the bins so passing customers could see where to stop for their goodies.

The other two stands had a completely different assignment: holding merchandise at the Western Fair in London, Ontario.
If I remember correctly, the top bins held keychains and mugs, with T-shirts and sweatshirts in the lower bins. (I didn’t go to the Fair this year, so I had to have AI create the photo for me).
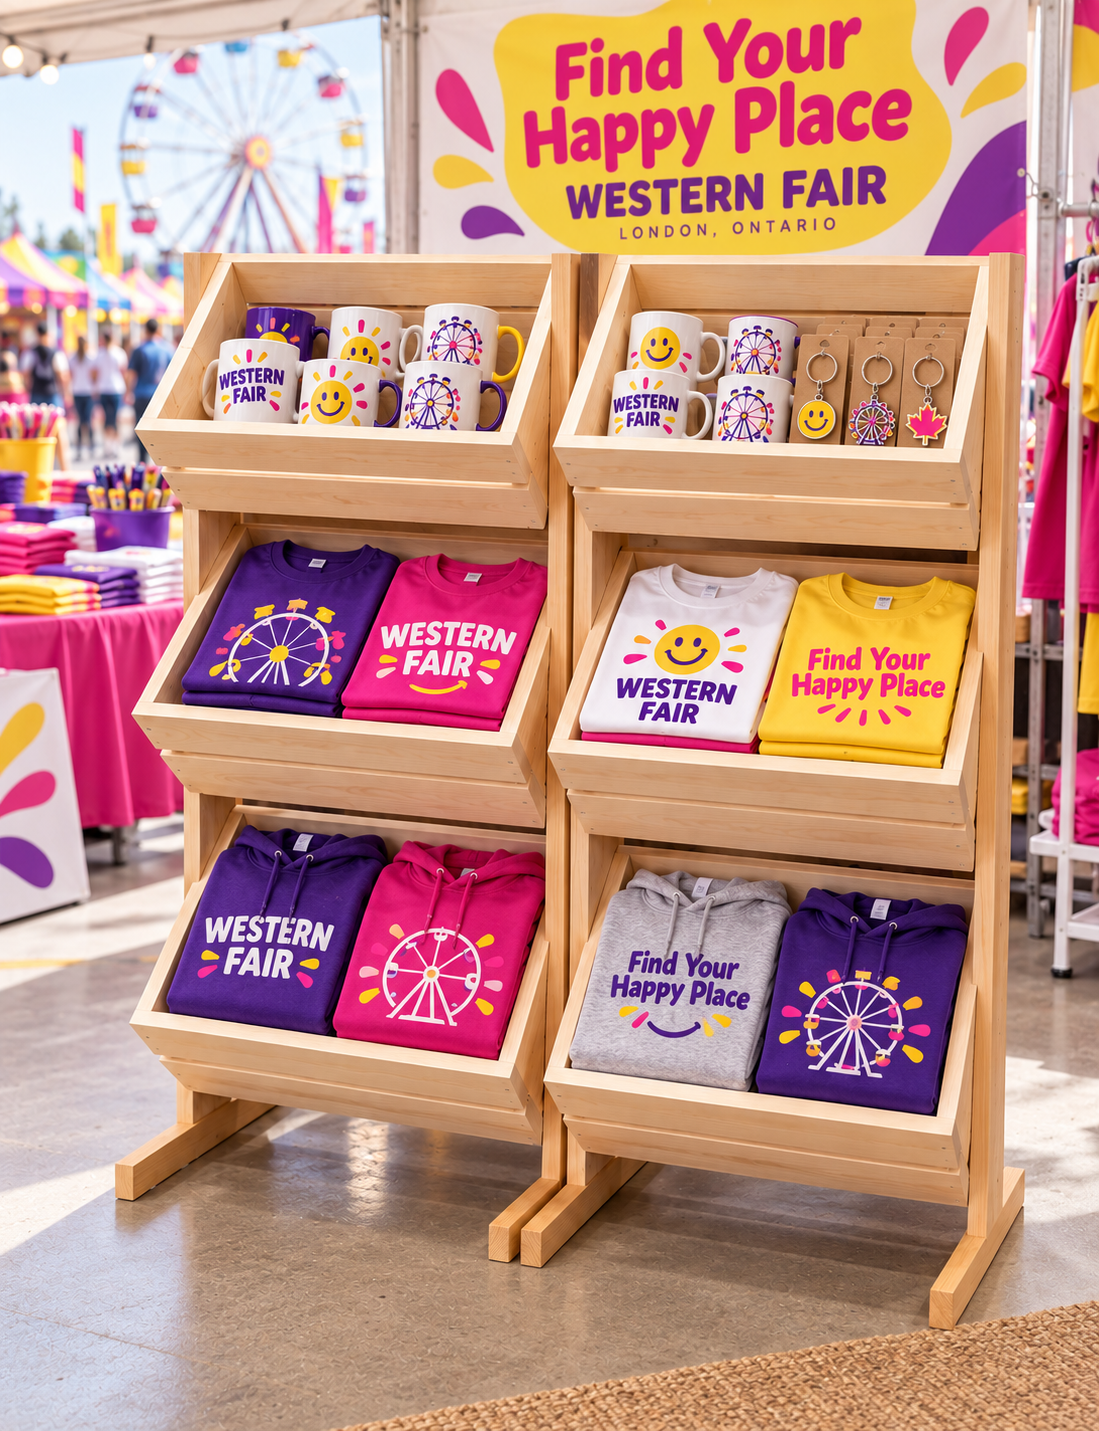
Same basic build. Entirely different business.
One encourages you to buy bread. The other encourages you to buy a sweatshirt that will forgive you for buying bread.
Why This DIY Display Stand Works
The design is simple: three angled wooden bins on a freestanding frame.
Those tilted bins bring the contents into view, while the front edges help keep everything contained. Instead of spreading products across a table, you can arrange them vertically and give each category its own space.
That makes this display stand useful when you want to:
- Show several types of products in a compact area.
- Keep small items grouped together.
- Give customers an easy way to browse.
- Organize supplies so people can help themselves.
- Change your display with the season—or your latest business idea.
The natural wood also makes a lovely backdrop. Colourful packaging, folded fabrics and handmade goods can do the decorating for you.
Which is nice, because I’ve already built the thing. I’d like the merchandise to contribute a little.
A Farm Stand for Sourdough and Baked Goods
Let’s start with its original job.
A roadside farm stand is a handy way to display packaged sourdough, cookies, rolls and other baked goods. Separate bins let you group your offerings so customers can see what’s available without rummaging through one giant bread pile.
How did we come up with dimensions? We guesstimated at how wide a single sourdough loaf would be, then guesstimated at how many my friend would bake in a week to figure out a depth (piling height).
Take that width and that guesstimated height, and cut your sides.
Yup, that’s it!
You want a finished crate at 12″ high, by 12″ deep? Cut two pieces of wood to 12″x12″.
You want it 6″ deep – cut your side 6″x12″.
If the items you want to display are light, use ½” wood, if they are heavier, or if you want a super-wide display, choose ¾” wood.

From here you’re going to cut a base – the width you want your display to be – and glue it between the two side boards.
So for our 12″x12″x18″ crates, our sides would be a 12″x12″ square, and the base would be 12″ wide by 18″ long. EASY PEASY!
Adding the sides
You can be technical and mathematical and calculate your front and back slats, or you can do what I did and figure out what wood you have, how many slats you can get from each board and then rip them down.
Attach a slat to the top of your crate (using wood glue and finishing nails). Attach a slat to the bottom of your crate.

Then, figure out the space remaining and eyeball the centre slat between them.
Yup, you’re welcome for the completely un-professional way of building your DIY display stand. Math is important, but let’s be honest; bread doesn’t care.

The crate you see in the photos above were for the Western Fair and I knew they were going to be holding mugs. Glue and finishing nails would likely have been enough to hold everything together, but I chose to err on the side of caution and over-build with screws just in case.
Lather, Rinse, Repeat
Build one more, two more, three more, change up the heights (but not the widths or depths) to fit whatever you want to fit.

Each crate took about 40 minutes to make, maybe an hour if you include sanding.
Build the legs
The legs are determined by the overall height you want your display stand at. Not too high that people can’t reach into the top bin easily.
In this case the overall height of the DIY display stands was 48″. Using my mitre saw, I cut a 1″x6″ to that length and then used some 1″x2″ to brace them.

Attaching the crates to the frame
Let’s to Shelly-math again; take your bottom crate and line up the front bottom corner, and the back top corner, with the edge of your stand. I kept it at 1 ½” off the ground (the thickness of the 1×2 base). Screw into place from inside the crate to keep the sides looking clean.
Repeat with the top crate so that the top of the back of the crate is flush with the top of your stand.
Then split the difference for the middle crate.
Don’t you love math!

In this case my top crates were shallower than the lower two, so my lining up corners didn’t quite work, but you get the idea.
Now this is not a hard-and-fast rule by any means; if you want your crates less sloped, then choose an angle that suits what you’re putting in it, and then cut a piece of scrap wood to the space you want between your crates. For the bread stand, we decided an 8″ spacing still allowed people to access my friend’s buttery goodness, so after installing the bottom crate, we rested an 8″ piece of wood on the bottom crate and then rested the next crate up on it before drilling into place.
Another option could also be using a butterfly bolt and drilling right through your crate and stand. Then you could alter the angle of your crate at anytime and hold it in place by tightening the butterfly. This would be awesome for transporting it – it could almost be collapsible.

A Merchandise Display Stand for Fairs and Events
The Western Fair commission is a great example of how this build reaches beyond the bakery crowd.
Mugs, keychains, T-shirts and sweatshirts can all share a display without turning into a jumble. Smaller souvenirs go in one bin, with folded clothing organized below.
This could work for:
- Fair and festival merchandise.
- School spirit wear.
- Community fundraisers.
- Sports-team apparel.
- Pop-up shops.
For the mockup, I used a cheerful display inspired by our local Western Fair’s branding. The merchandise shown is illustrative, but the two wooden stands are based on the ones I built.
And yes, seeing something you made being used by a local organization is pretty exciting.
“Check out my wood!!” (not as funny coming from a woman)
A Craft-Market Display for Handmade Goods
If you sell handmade products, a DIY display stand gives you another way to arrange your booth without putting everything flat on a table.
Picture the bins filled with:
- Packaged soaps.
- Greeting cards.
- Boxed candles.
- Knitted hats.
- Rolled tea towels.
- Small ornaments.
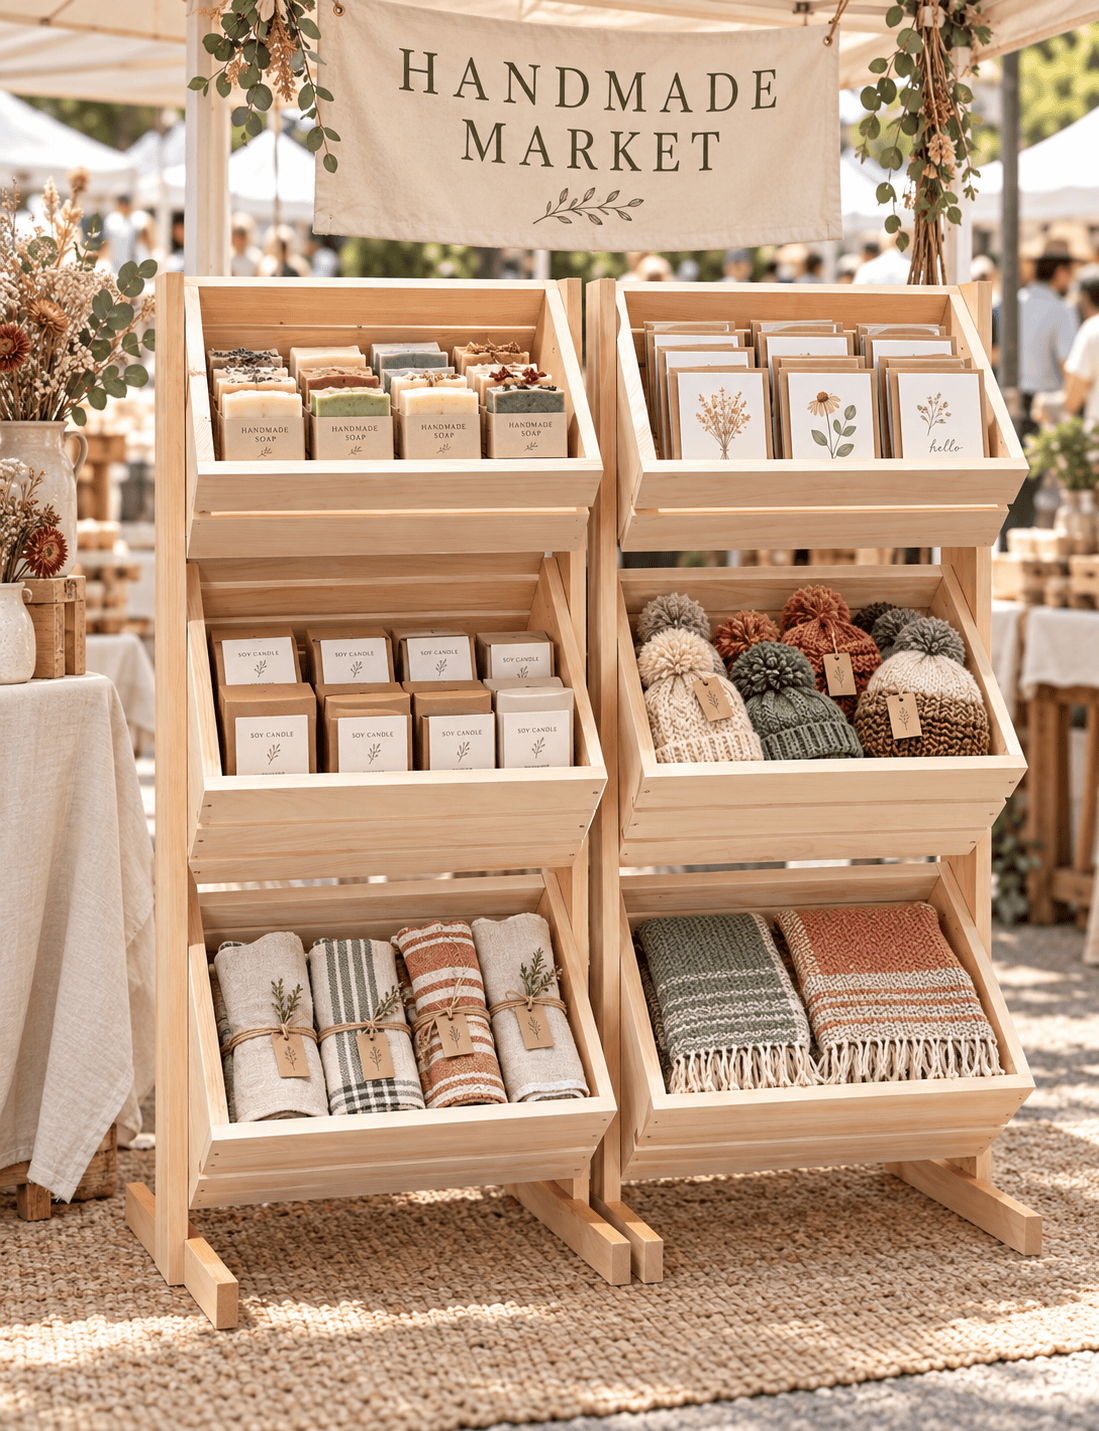
The wood keeps the display visually consistent while the products provide the colour and texture.
It’s also easy to imagine changing the contents throughout the year: lighter textiles for spring, knitted goods for autumn, ornaments for Christmas.
One stand. Several seasons. A much better arrangement than building a new fixture every time you change your inventory.
Although I reserve the right to do that anyway.
A Pet-Supply Display Stand
The pet-supply mockup might be one of my favourites.
Packaged treats in the top bin, bandanas and leashes in the middle, toys and folded blankets below.
A small pet shop, market vendor or rescue fundraiser could use that arrangement. At home, it could become a station for the things you grab before a walk.

The treats would need to be somewhere your particular pets can’t help themselves, of course.
In my house, an accessible snack display could quickly become a self-service buffet with absolutely no respect for inventory control.
Classroom Storage for Teachers
Teachers could use the same three-bin design for picture books, activity folders, pencil cases, crayons, paper and notebooks.
One detail matters here: the bin bases are angled.
Supplies need to lie along that slope, lean against a supporting surface or sit in a suitable container. This isn’t a flat shelf where you can line up open cups of pencils and hope physics takes the afternoon off.
In the classroom mockup, books and supplies rest along the sloped bases, with the front lips helping contain them.
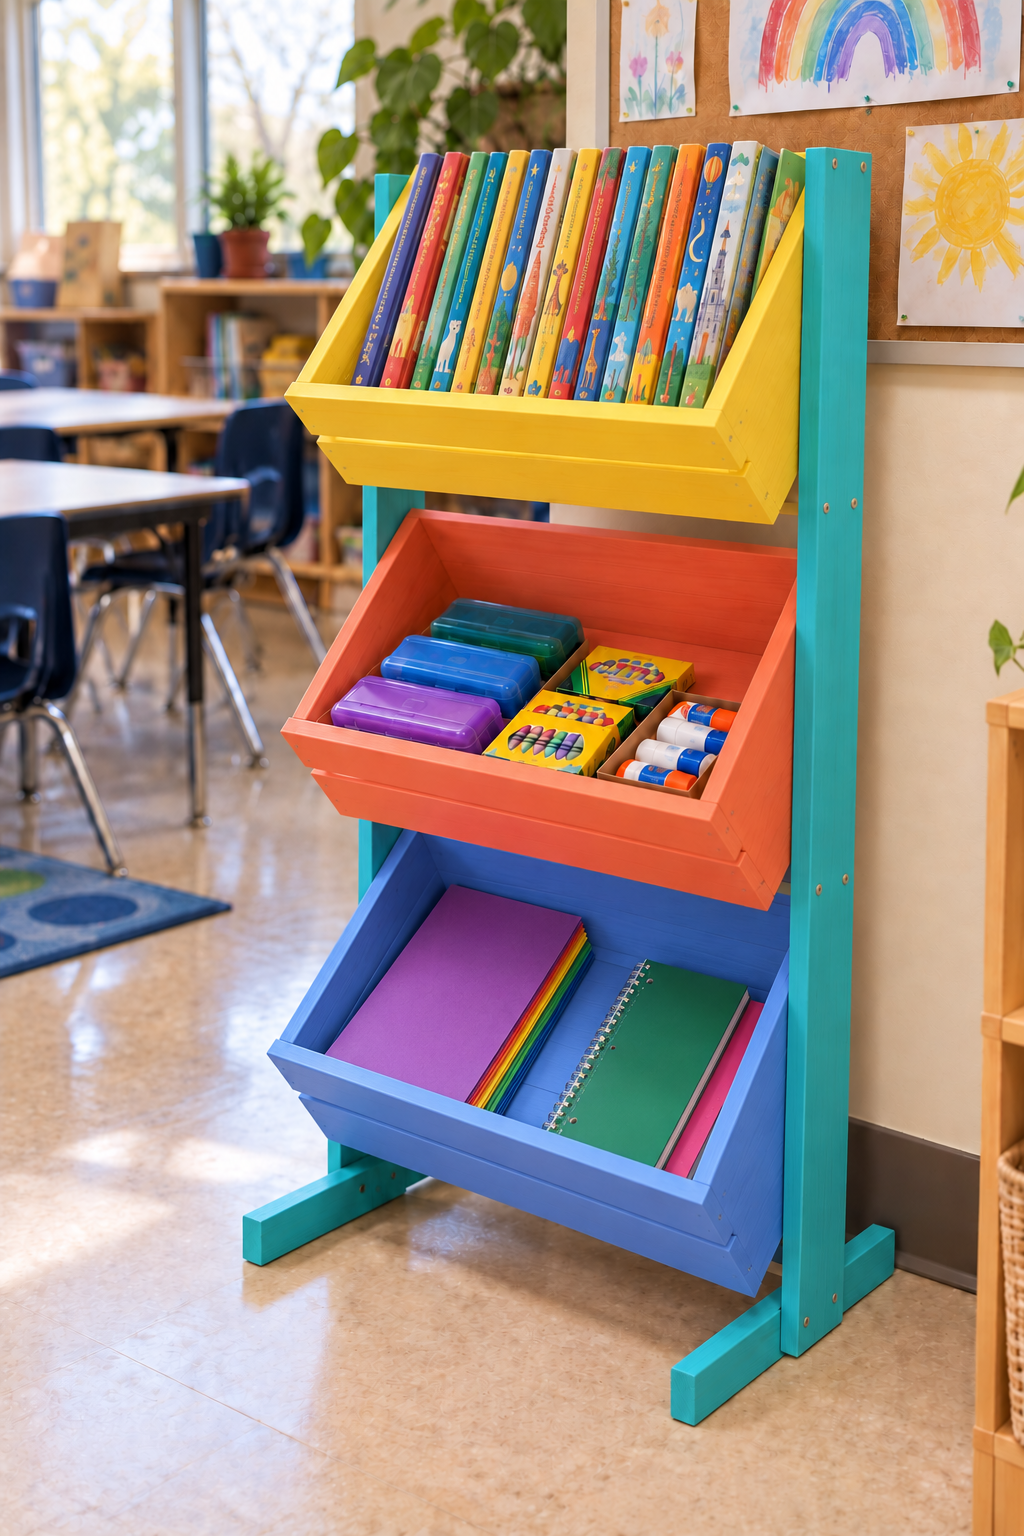
It could make a useful station for choosing an activity, collecting art supplies or putting materials away.
I can provide the storage. Getting everyone to put the lids back on the glue sticks is between you and your class.
An After-School Snack Stand
This idea actually came before the larger farm stands.
Years ago, I built a smaller version for my girls’ after-school snacks and lunch-packing routine. Fruit and applesauce went on top, with packaged snacks in the lower bins.
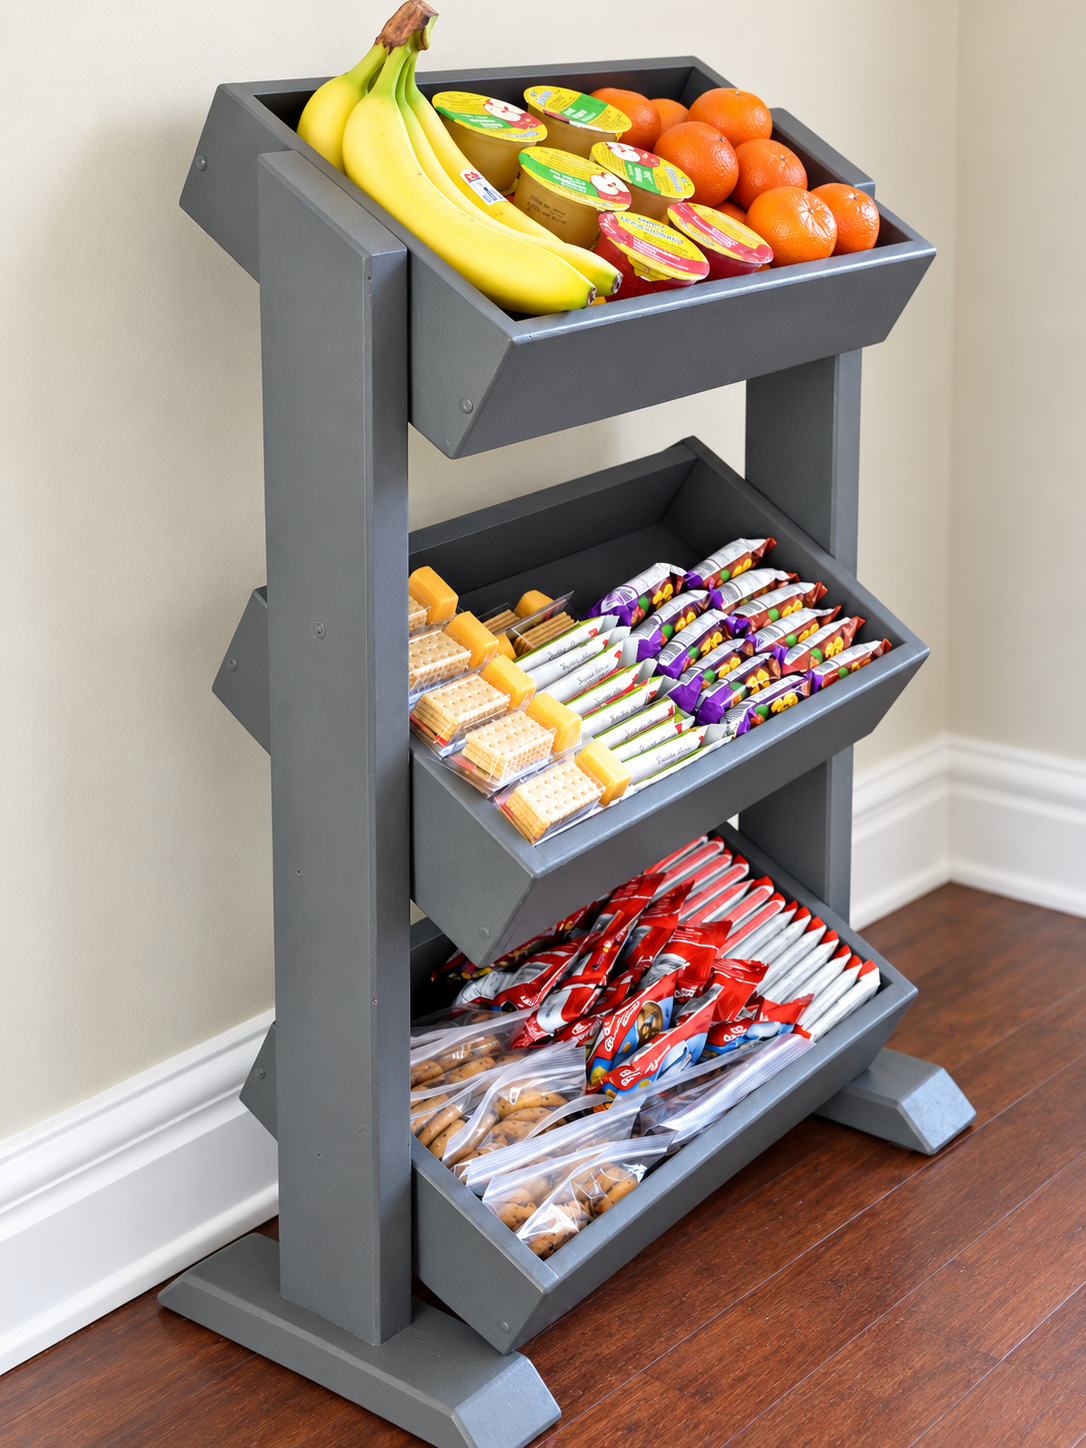
The girls could choose snacks for their lunches and help themselves when friends came over after school.
You can find that earlier project, including the build instructions, here:
Those instructions are for the smaller snack version, so keep that in mind if you’re planning a larger merchandise display.
Apparently, I’ve been building tiny self-service shops for years.
My original customers just paid in crumbs.
More Ways to Use a Three-Tier Display Stand

Once you stop thinking of it strictly as a farm stand, there are plenty of other possibilities:
| Setting | What to put in the bins |
|---|---|
| Garden market | Seed packets, bulbs and small plants with suitable supports |
| Craft room | Yarn, fabric bundles, sewing patterns and supply pouches |
| Party or shower | Packaged favours, napkins and small gifts |
| Community fundraiser | Packaged baking or small items for sale |
| Entryway | Hats, mittens and scarves |
| Home learning space | Activity books, paper and art supplies |
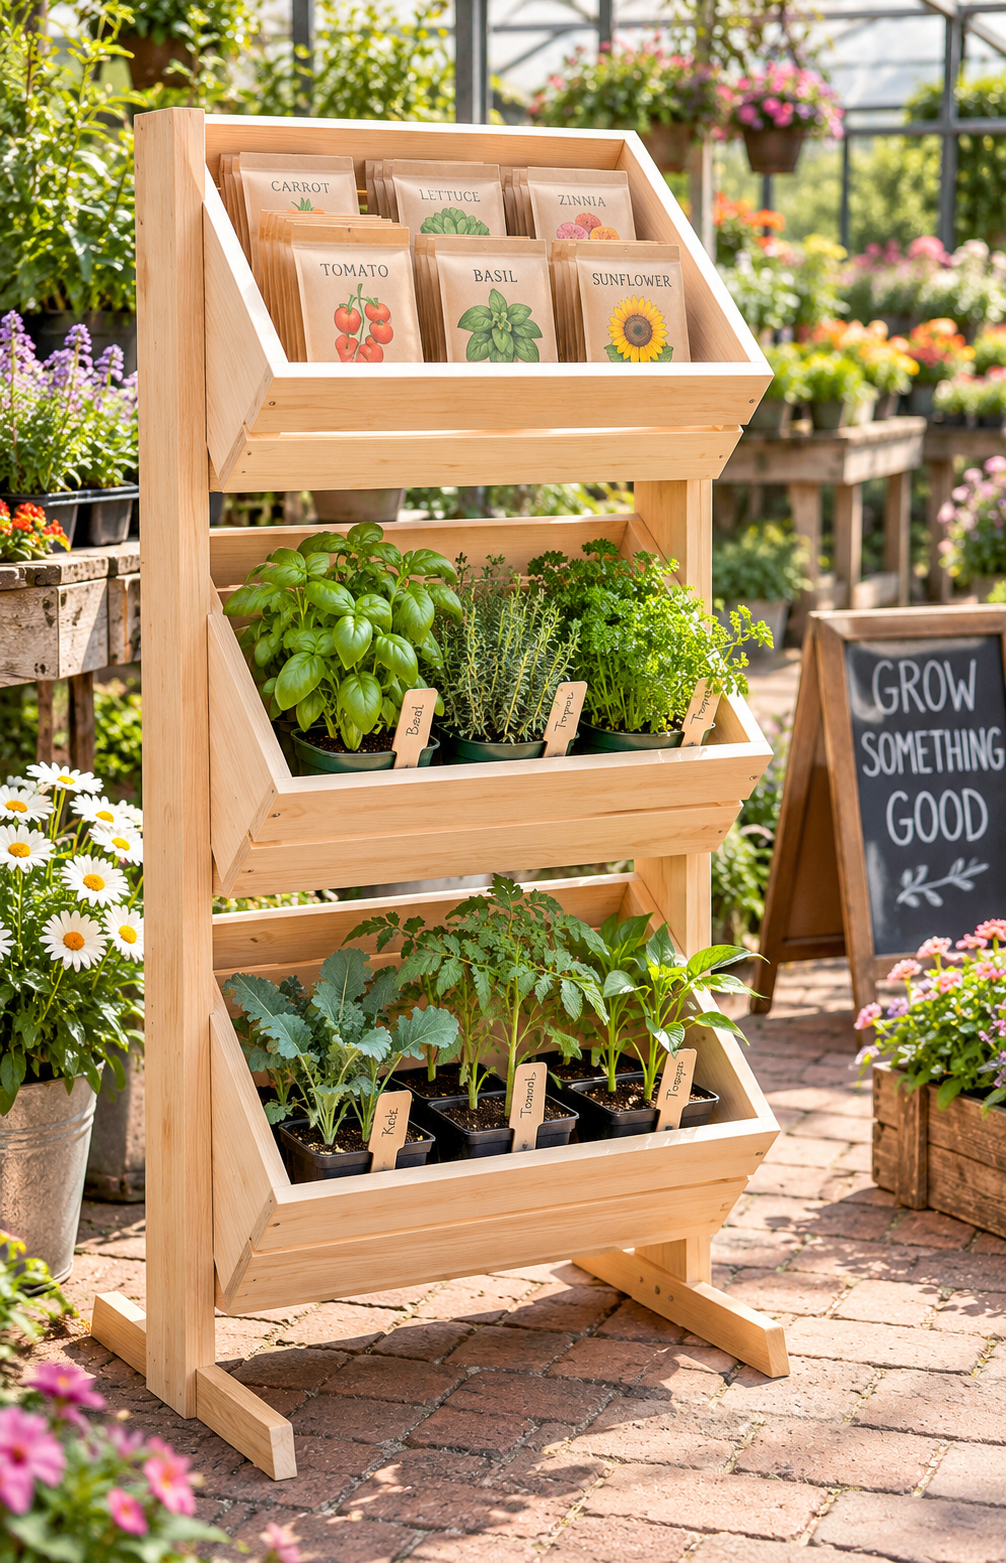
The best contents are items that stack, nest, lie flat or lean securely.
Heavy goods, fragile products and containers that need to remain upright deserve a little more thought. Choose contents that suit your stand’s size, construction and stability.
Frequently Asked Questions About DIY Farm Stands
What can you sell from a farm stand besides sourdough?
A farm stand can display packaged cookies, other baked goods, small produce, bulbs, plants or handmade products. Choose items that suit the stand’s bin size and location, and check the requirements that apply to what you’re selling.
How can you use a DIY display stand at a craft fair?
Use a DIY display stand to group products across three tiers. Packaged soaps, cards and small accessories can occupy one bin, with folded or rolled textiles in the others. Keep prices visible and avoid overcrowding so shoppers can see and reach the products.
Can a wooden display stand be used for home or classroom storage?
Yes. A wooden display stand can organize snacks, craft materials, books and classroom supplies. With angled bins, place items along the sloped bases or provide suitable support rather than arranging them as though they’re on level shelves. I probably don’t need to write this, but I’m going to cover-my-butt; these stands are not safe to climb. Teachers, restrain yourselves or add strapping to the wall so that the stands can hold your weight.
From Roadside Bread to Classroom Crayons
These three builds started with two specific jobs: helping a friend launch her roadside bakery and displaying merchandise at the Western Fair.
But the same basic design could hold handmade goods, pet supplies, classroom materials or the snacks your children will somehow finish before you’ve put the grocery bags away.
Build it for the job you need now.
Just don’t be surprised when you start imagining another one.
Pin it for later:

Have a great one!
