This ugly beast was a curb-find “trashure”. 
Heavy as heck, wood with a wood veneer and a mirror as the top. I’m going to say this is a ‘mid-century’ look with the notched panels and faux-sliding sections – those are actually drawers and the gold circles are just for decoration.
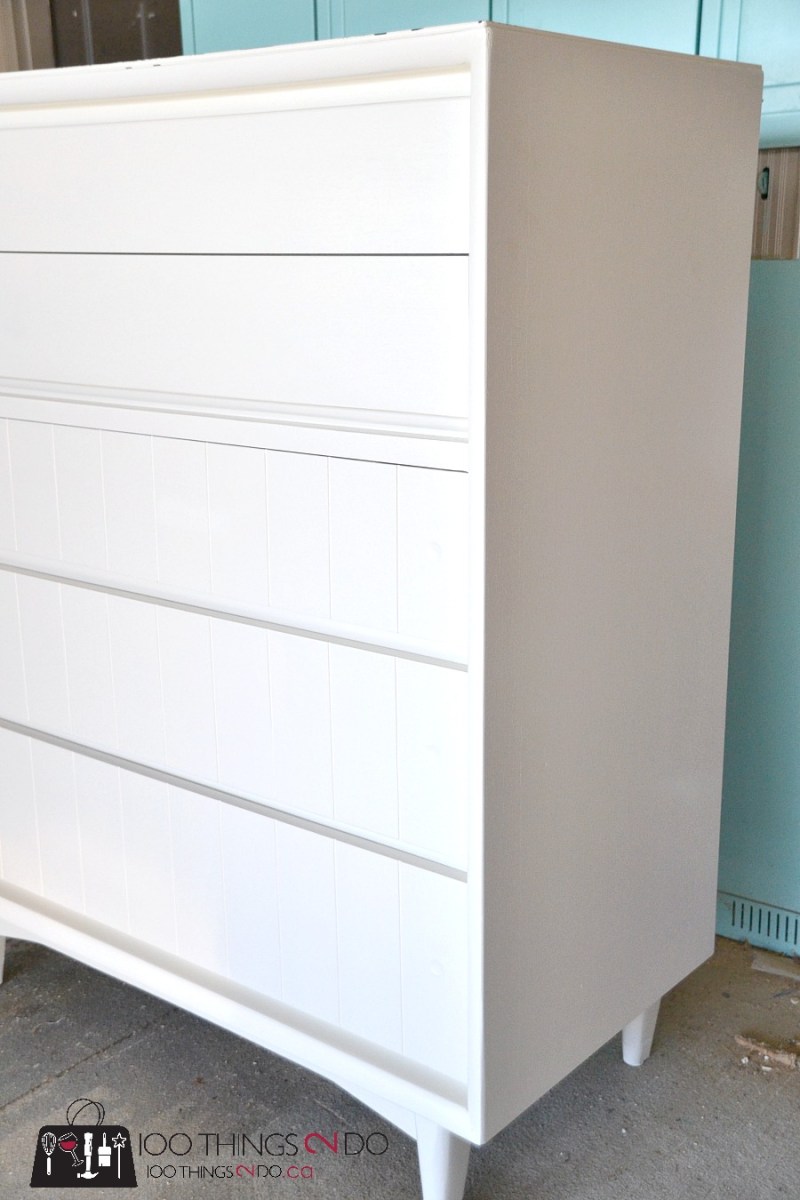
What is neat about this piece though is that it has no handles! Yup, the drawers have a lip on them for opening and closing. If you want to try your skill at a refinished dresser, this is the way to go – no expense for new handles which can run anywhere from $3 per to $20 per, depending on how fancy you get. That adds up when you need two per drawer.
I stripped the entire piece down to bare wood – a necessity in my books for a refinished dresser – it ensures a smooth finished product and strong adhesion of the primer and paint.
Two coats of Rustoleum’s Zinsser® Bulls Eye 1-2-3® primer to stop any tannins from wood bleeding through, followed by a light sanding with 220 grit to give me a perfectly smooth surface for painting.
I know white isn’t an exciting colour to paint a dresser, but I was debating on keeping this one in my craft room for extra storage – and the rest of the furniture in there is white.
I used two coats of BM’s Advance formula in Cloud White, which really is like armour, and voilà!
The mirrored top got a thorough cleaning with Rust-Oleum’s KRUD KUTTER®, which is able to remove even dried on paint from years and years ago and is now (almost) perfect. (The only other option would be to build an entirely new top and frankly, having a top that can’t be damaged very easily is pretty appealing in a craft room.
This bad boy went from damaged and dated to my white knight; regal, immaculate and ready for anything.
I can add handles for decoration, or leave this refinished dresser with its subtle detailing as its accoutrement.
Refinished dresser
What I used (affiliate links)


love it, love it love it