Upgrade and update an old ceiling with a bit of spray paint! Less than an hour of work and less than $20 in supplies!
I know to some, ceiling fans are the scourge of interior design.
To me, it’s about function over form – I NEED to keep the air moving. In the summer (obviously) it helps to cool a room, but in winter – when put into reverse – it actually helps warm a room too.
All of our bedrooms have a ceiling fan and have since the girls were babies – so 15 years now.
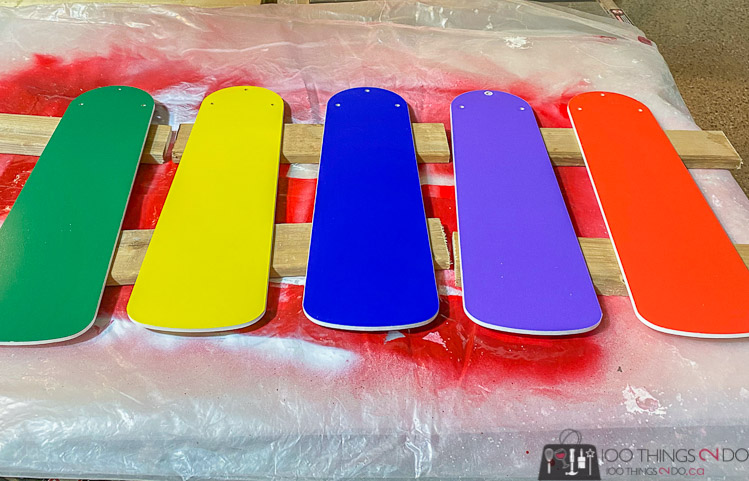
Only problem is that they have become dated. The girls’ fans in particular because the blades had pastel colours on one side and primary colours on the other side. Perfect for adding colour to a nursery or kids room, but a bit too young-looking for teenagers.
As part of creating an office/craft room for Miss Chloë, I decided it was time to update her ceiling fan to something a little less juvenile.
Ex-hubby installed the fans when we first moved in and I distinctly remember there being complaints about crawling around in an over-heated attic to attach the fans and wiring to studs. I decided to avoid attic-crawling and went with an easy and inexpensive update; spray paint. (Please ignore the grounding wire hanging out – the fans are grounded, we just forgot to tuck the extra wire into the unit)
Most ceiling fan blades are attached to blade arms – it’s the bracket that holds the blade to the fan itself. They are attached to the ceiling fan motor with 2 screws, and then attached to the blade itself with 3 screws.
I unscrewed the blade arms from the fan motor and brought them down to the ground, then unscrewed the arm from the blade.
All you need is a simple screwdriver. No fancy tools required.
Once you have the blades dismantled from the arms, give them a good wash down with TSP. Chances are they’ve accumulated a lot of dust, and more often than not, they are made of melamine. TSP cleans and abrades the surface slightly to give your primer something to adhere to.
One can of spray primer and one can of spray paint should be more than enough to cover 5 standard-sized blades.
If you are going to update your ceiling fan to a lighter colour/shade then you’ll use a light primer – usually white – and if you are going with a dark colour, you’ll want a dark primer.
I decided the ceiling fan was going to be black and white, so the black primer actually made it so that I needed less spray paint, which tends to be more expensive than primer.
I chose a high-gloss enamel for the top coat to give the fan blades a bit of a shine and because I thought dust might adhere to matte finishes more? Not sure if that’s actually true or not?
One coat of primer on each side, then 2 coats of the black enamel paint.
Those are just dust flecks from sanding the walls – the blades themselves have a perfect, glossy finish.
Re-install with the same 5 screws and you are done!
Maybe I should have painted the whole fan, but I actually don’t mind the two-tone look – it’s slightly dramatic without being too heavy looking.
If you are okay with spending more than ~$20 on your ceiling fan update, you can also buy parts separately – I’m attaching Amazon affiliate links to different components you can use to upgrade an existing fan. *For full Amazon affiliate disclosure, please see sidebar or bottom of the page.
Updates and upgrades add up quickly and at some point it will just be less expensive to buy a new ceiling fan altogether.
Because there were no mechanical issues with Miss Chloë’s fan, a bit of primer and paint were more than sufficient to upgrade it from kid to adult.
Wait till you see her office/craft room makeover! (Coming soon!)
Have a great one!


