I had such a great week last week; all of my projects were both fun and challenging and when they all turned out as I’d hoped, I was giddy.
Today’s cheater t-shirt quilt is one of those “I’m giddy” projects.
There are lots of tutorials on Pinterest on how to cut your t-shirts and what to back them with and how to finish with the quilting portion….
That is NOT what you’ll find here – today I’m all about getting those shirts into a quilt the easiest way possible – and for those of us that really only want to sew a straight line.
First up, grab your shirts!
I played soccer for years and years and years, and squirrelled away several jerseys in the hopes of having them as some sort of souvenir, like maybe a usable souvenir?
I lined up enough shirts and jerseys to create roughly a twin-size quilt. This won’t go on a bed, it’s meant to be a throw-blanket, but you want something with enough size to cover you completely while napping on the couch.
I cut each shirt so that I had straight rectangles by removing the arms and collar and then separating the fronts from the backs. None were the same size – we’ll worry about that in another step.
Line up your first jersey face up, right-side up. Lay your second jersey over top of that so that it is face-down and with the top at the bottom of the one beneath it. Test it out by pinching the bottom edge with your fingers and then unfolding the top jersey from the bottom one – it should end up in a column with all of the fronts facing outwards and the tops lining up. Repeat until you have your columns completed. It will look something like this:
Next you’ll want to fold each column onto itself with the narrowest t-shirt visible. Cut the sides of entire column so that they are straight. Once you’ve done that for all of your columns, lay one over top of the next – right sides together – and sew two columns together. Repeat until you have all of your columns attached.
Repeat these steps for the back of your t-shirt quilt using the backs of your shirts and/or jerseys. A ‘real quilter’ will be shaking their head in dismay at this point – none of the shirts line up, the columns are probably different sizes – to them this might be a tragedy….
But wait till you see how I cheated on the actual quilting part! lol
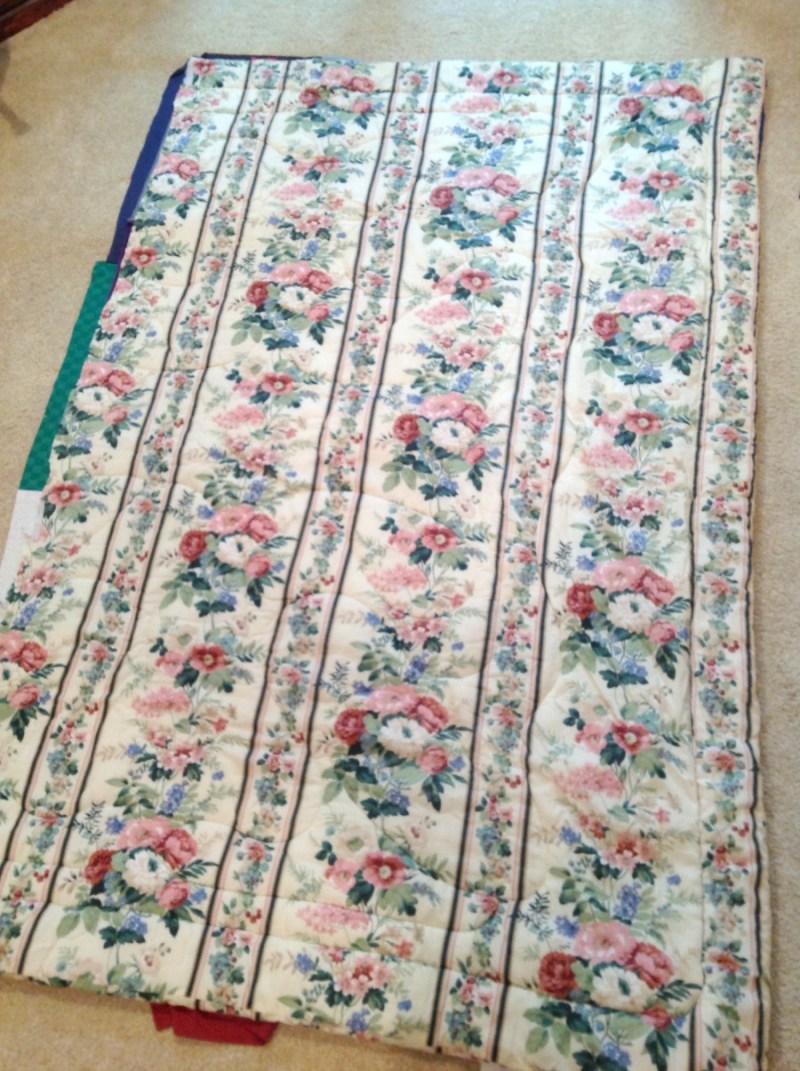
I found this old comforter in my Mom’s basement, and since it was ugly and not being used, I thought it would make perfect t-shirt quilt batting.
I cut it down to be just slightly smaller than the front and back of my t-shirt sections.
Now you’ll want to line up the front and back of your t-shirt quilt; have one side facing up and the other side facing the first (so right sides together). On top of this, line up your comforter and pin in place.
Sew a seam around all of the edges of your t-shirt quilt, leaving an 18″ opening at the bottom for turning. I suggest reinforcing this seam with a zig zag stitch all the way around as well.
Turn your quilt right-sides out and it should look like this:
Tuck your edges inside and stitch the opening closed.
Quilts usually have stitching throughout to keep your batting in place. If your shirts were all sized exactly the same and your rows and columns perfect, you’d be able to sew along each seam line to get that effect.
But this is a cheater quilt and is meant to be easy – and none of my seams line up so…
instead I took a bit of embroidery thread and a large needle and made a small not at the intersections of the jerseys like this:
Make sure you go through all the layers of your t-shirt quilt and back up before knotting. I repeated this process on the other side of the quilt (since the t-shirts were in different locations) and you can see a small white dot above the tuft where the knot is showing on the other side. Small, unobtrusive and very effective at keeping your quilt from bunching and moving around.
You don’t even notice them right?!
I started this quilt at 9:30am and was completely finished by 2:30 the same day. This is such an easy project and by doing the cheater method, you’re more inclined to actually attempt this project than if you had to follow the “proper” quilting techniques.
With the comforter in between the layers, this sucker is so warm you could wear it to Fall football games and still be toasty.
A battle has begun in our house as to who gets it each evening. Right now I have the size, but this one has the speed.
All you need are a dozen or so of your favourite jerseys or t-shirts, a sewing machine (and the ability to sew a straight line) and an old quilt or comforter to use as batting.
Gosh this turned out great!
I’m so pleased (and warm), and feeling pretty proud to be able to show off all of these to the girls. Maddie has already asked that I make her one with her jerseys someday (Don’t worry baby, I’ve been saving yours since you were three!)
Have a great one!
Linked to:


You have actually made a blanket not a quilt. But it looked like you have fun making it.
Oops, my mistake – thanks for the heads up. Regardless of title, this sucker sure is warm! lol